


If you're marginally inclined towards computers, you've probably been approached at some point by a family member who wants you to "fix" their system during a visit home. With the holidays coming up, these opportunities (or ambushes) are even more likely.
Even if nothing is wrong with their system, you're going to want to make sure everything is working smoothly, so there's less to worry about next time you need to "fix" it.
To help you through the process, just follow along with this step-by-step guide to speeding up and troubleshooting a Mac OS X computer, from PowerBooks to MacBook Pros and iMacs to Mac Minis.
If your mom, dad, grandma, or other family member uses Microsoft, check out our companion guide to speeding up and fixing your family member's Windows computer for help.
1. Are They Running Mavericks or Yosemite?
Before doing anything else, if the computer is running an older operating system and is capable of running Mavericks or Yosemite, you should upgrade it for them since it doesn't cost anything. You may even be able to get them the entire suite of iWork apps for free as well. But if you do decide to upgrade (make sure to ask first), there are a few things you should do before getting started.

First, check to see that there aren't any third-party programs or apps they use frequently that aren't Mavericks or Yosemite compatible. The last thing you want is to solve one problem and create another.
Second, backup the entire system using Time Machine or another program that will allow them to fully restore if anything goes wrong. If you've got the time, it would also be helpful to make a bootable Mavericks or bootable Yosemite USB drive for them in case they ever need to reinstall the OS when you're not around.
2. Clear the Web Cache
The web cache in every browser stores information from visited pages in order to help them load faster in the future. But without clearing it all out every now and then, the cache can collect so much data that it actually has the opposite effect.
It's a different process for each web browser, so check out our ultimate guide on clearing web caches for any browser to find out how to do it. You'll most likely be looking for the section on Safari, but be sure to do the same for any additional browsers they have installed as well, Firefox and Chrome being the two most likely.
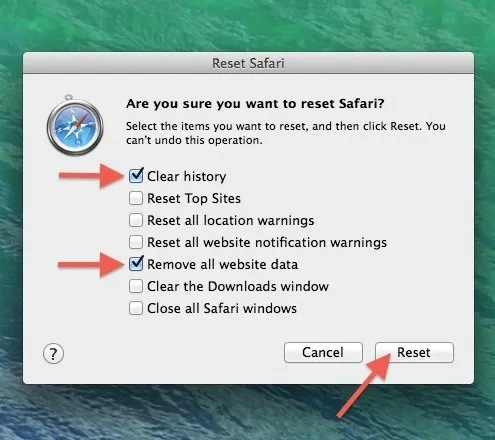
3. Delete Temporary Internet Files
In addition to the web cache, there are other types of data stored by web browsers that can slow down your family's Mac. Browsing history, cookies, and downloaded files are all part of these temporary internet files.
These files can be deleted from the same settings where you cleared the cache, so just follow the same instructions for the specific browser they're using and check the boxes for the additional data you want to get rid of.
Deleting Mail Downloads
If your family uses the Mail app in OS X, it will also store any attachment that's opened in the app or with QuickLook. You can delete these files by going to Library under the appropriate User and finding the folder called Mail Downloads.
If you don't see the Library folder, you can unhide it using Terminal, but it's much easier to just make sure the User is in the Finder sidebar, highlight it in the sidebar, and then press Command+J to bring up the view options and select Show Library Folder.
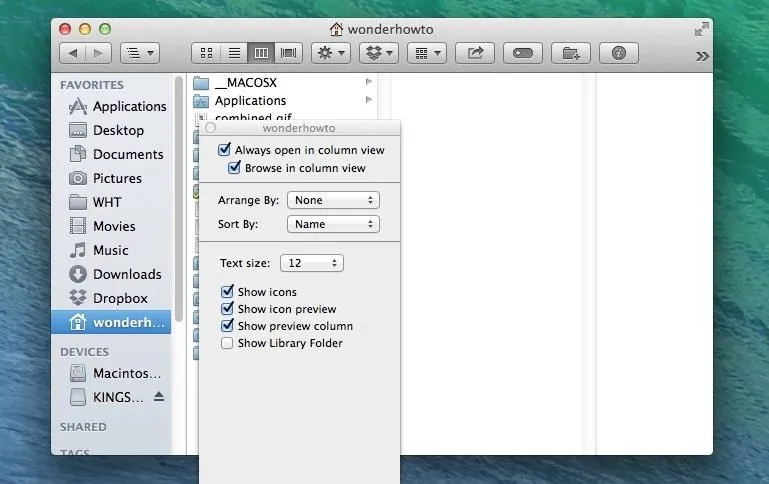
This will only work from the sidebar, but once enabled, you'll be able to see the Library folder from other paths, even if you remove the user from the sidebar.
Any files you delete in Mail Downloads will still be accessible as long as they still have the original messages they were attached to. If they've deleted the messages, you can move any files they want to keep to a better location before clearing out the downloads folder.
To make things easier and smoother, make sure they are storing all applicable Mail files on iCloud, like drafts, sent messages, junk, and deleted messages.
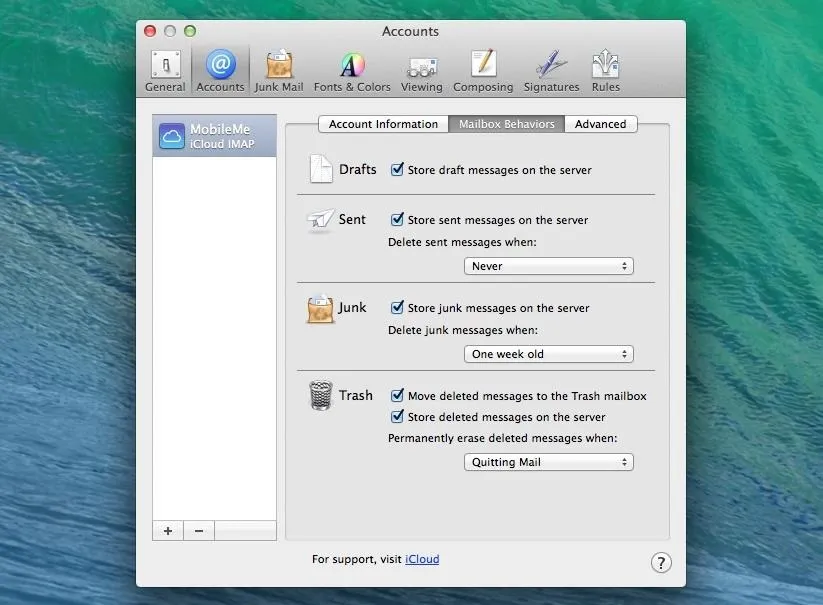
If they don't have iCloud setup, that's probably something worth looking into.
Deleting All Downloads
If they have the main Downloads folder in Mac OS X set in Mail, make sure to also clear out any files in there, along with any other unnecessary downloads they have in there from the web browser. This will build up quickly if they never pay attention to it.
4. Scan & Delete Malware & Spyware
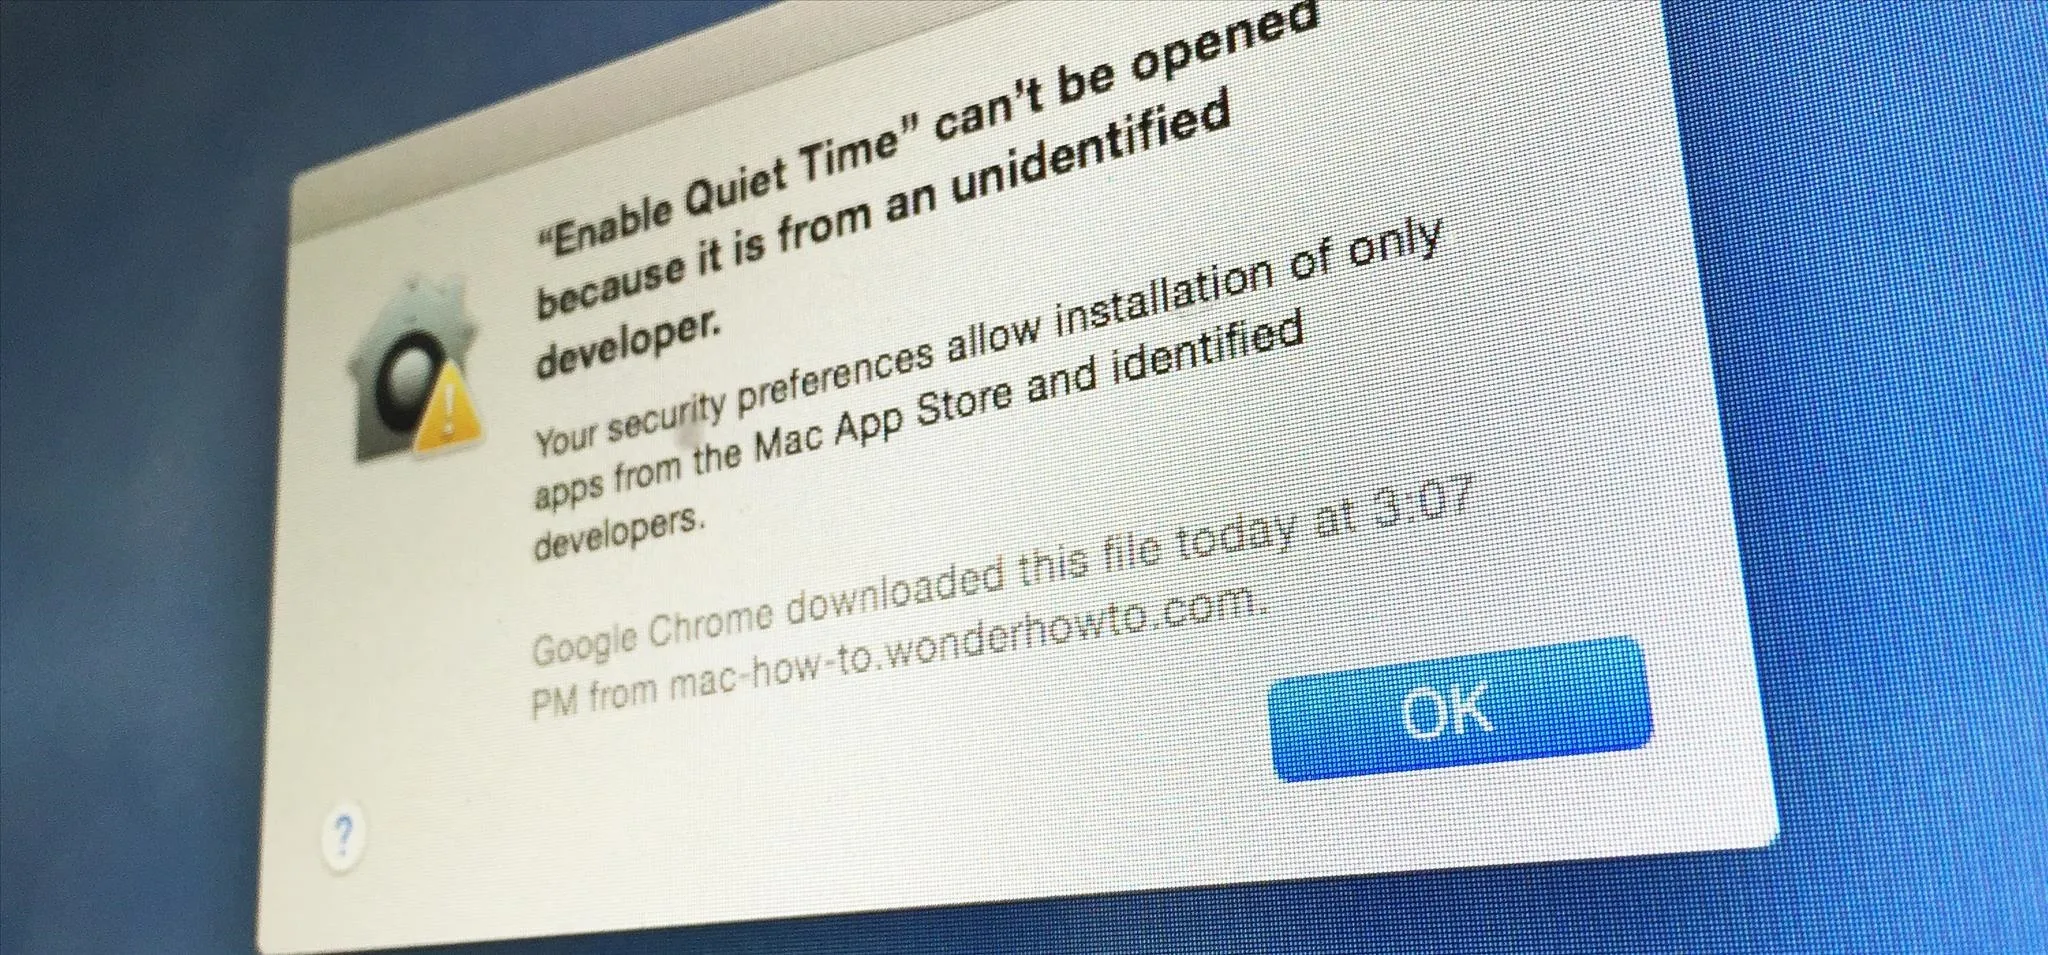
Some people buy into the myth that "Macs can't get viruses" and therefore do absolutely nothing to protect themselves. It's true that Mac OS X is more secure than the average Windows computer, but mainly because it's a low-value target, so it's not impossible for a Mac to be infected. It's always better to be safe than sorry.
Mac OS X doesn't come with an antivirus scanner built in, so you'll need to download one. Sophos is considered one of the best, and it's free and easy to use. Avast! Free Antivirus for Mac is another good free scanner that scans only for Mac-specific malware.
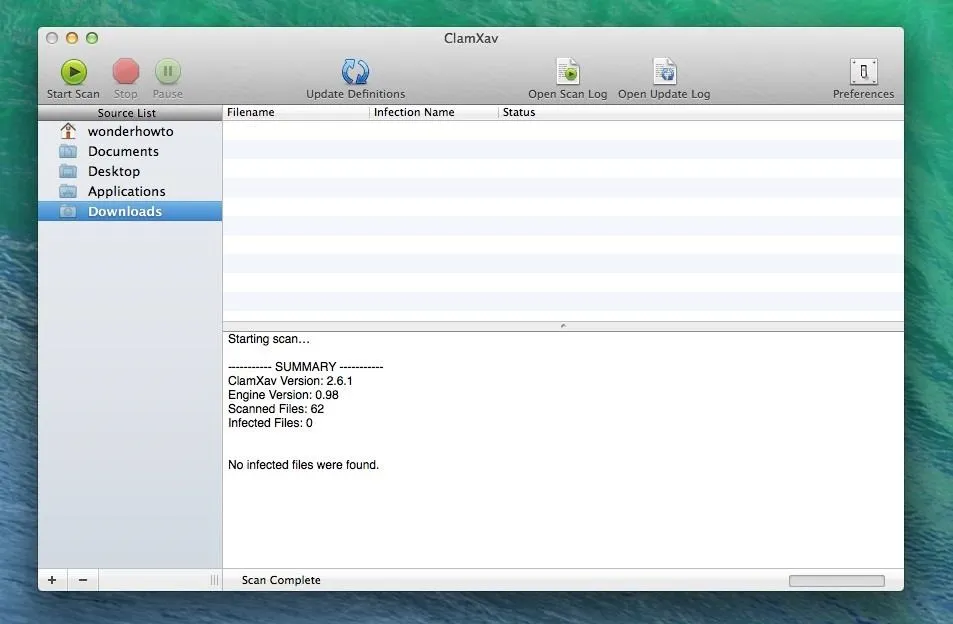
But some of the safest options will be in the Mac App Store, and one of my favorites is ClamXav, because it's free, easy to use, and most importantly, bloat-free. There's also iAntivirus by Norton.
There's no shortage of options (especially if your family doesn't mind paying for one), so make sure to do some research before choosing.
Once an antivirus program is installed, there's not much work left to do besides starting the scan. If it finds any files that shouldn't be there, just use the software to get rid of it.
5. Clean Up the Desktop
The desktop may be an easy spot to dump files and pictures, but your family's computer has to waste valuable memory on those files every time it's booted up. Shortcuts are fine to leave there since they don't take up much space, but other files are better off if you can find them a different home.
The simplest solution is to create folders in the Finder and organize the files so they're easy to access. That way, your family can still find what they need, but the files won't use up any working memory just sitting there.
6. Disable Startup Items
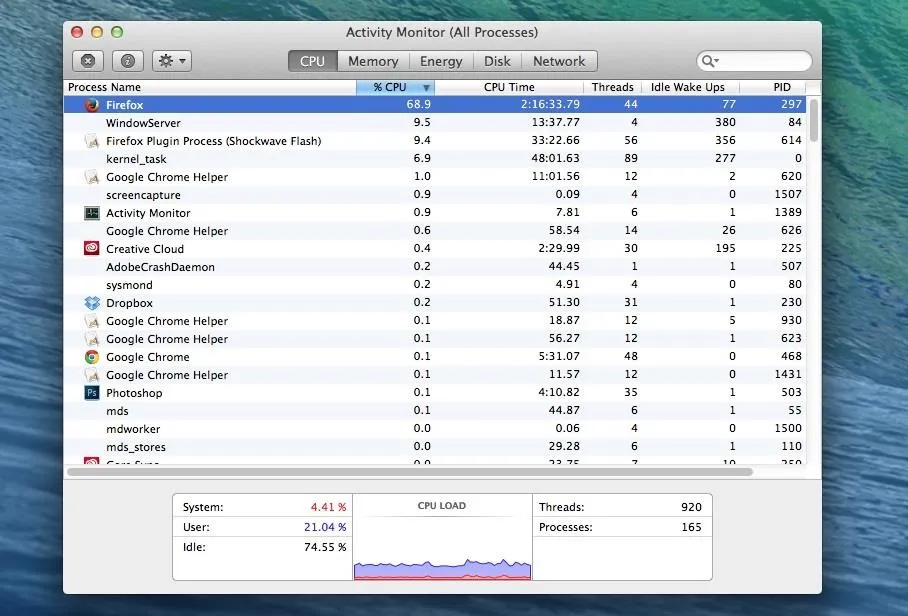
If a bunch of programs automatically start running when you boot up your family's Mac, they're probably slowing it down significantly. Luckily, disabling them is easy. If you're not sure which ones are causing problems, the Activity Monitor will help you determine how much CPU each app or program uses. You can find the Activity Monitor in the Utilities folder in Applications.
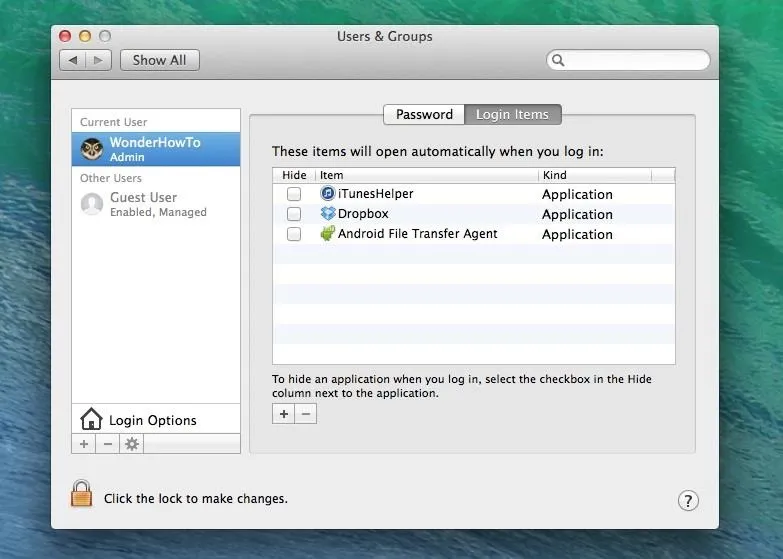
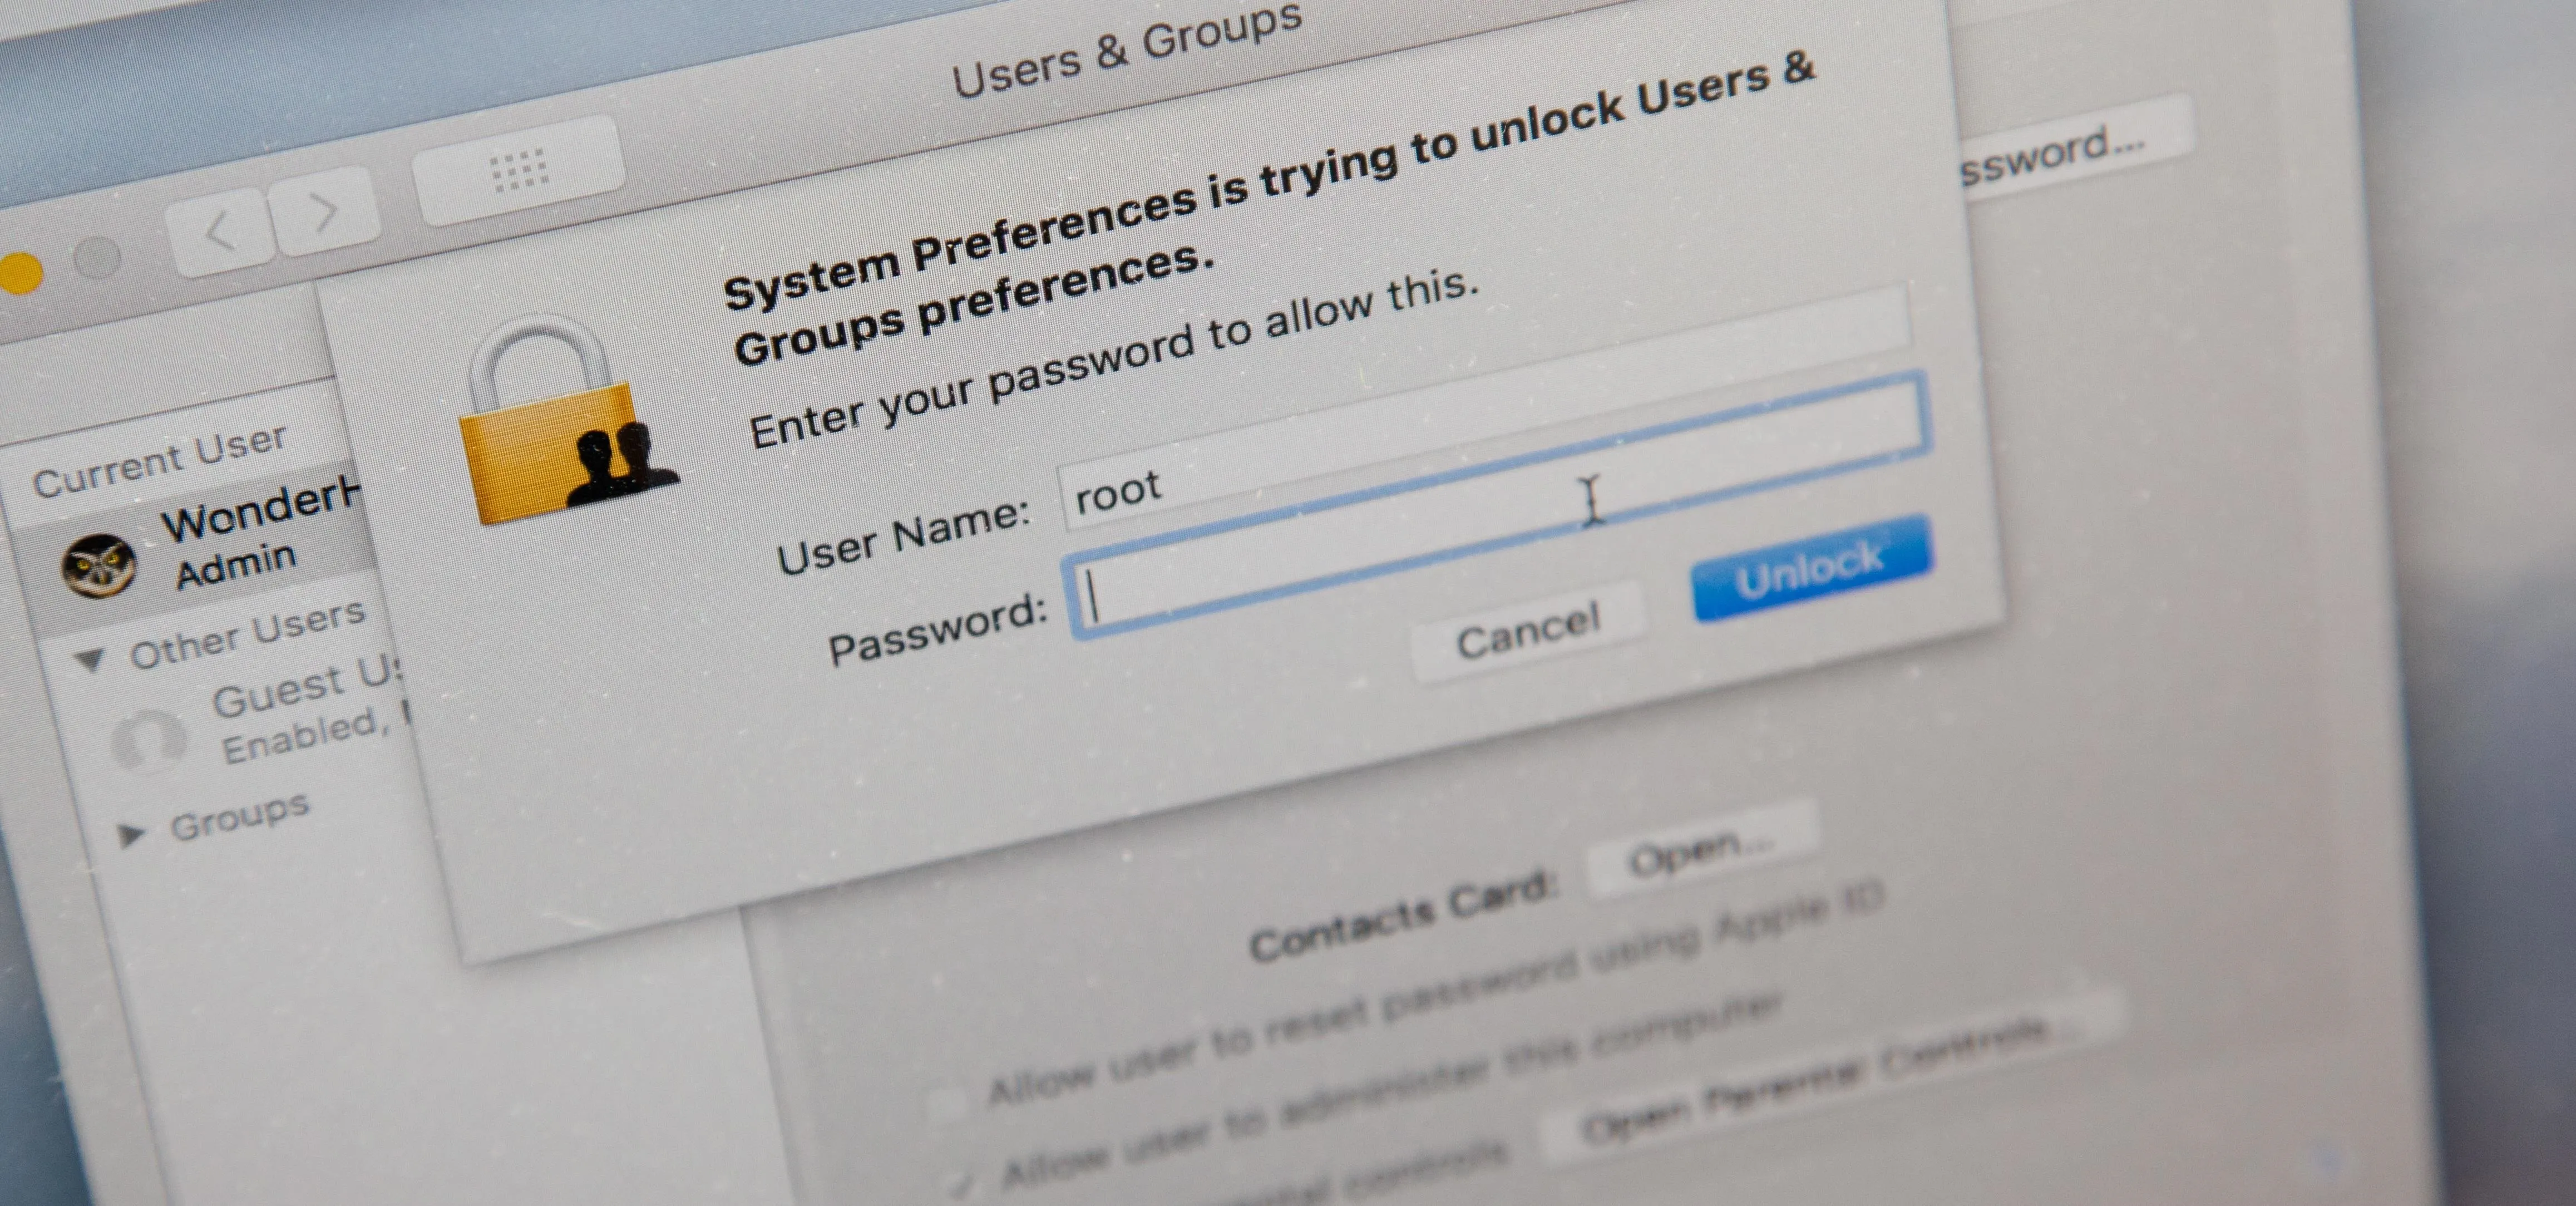
To disable the biggest resource hogs, go to System Preferences -> Users & Groups. Select a user and click on the Login Items tab to see a list of everything that automatically starts when they log in. To remove an item, select it from the list and click on the minus (-) button.
7. Get Rid of Unused Programs
Downloaded programs often tack on extras that your family probably doesn't use, like toolbars and other bloatware. A lot of people just use the automated wizard when they install a program, so if they don't pay close attention to their downloads there could be a bunch of these extras slowing down the computer.
You can find a list of the installed programs under the Applications folder in the Finder. To get rid of one, just drag and drop it into the Trash, then right-click on the icon and select Empty Trash. Some might even have a built-in uninstaller, like some Adobe products.
Also, if you see a bunch of unnecessary icons up in the menu bar that you didn't already obliterate in Step 6 above, you should look into what they are and how to disable or delete them.
8. Delete Duplicate Files
Obviously, it doesn't do any good to have multiple copies of a file just sitting on a computer. They take up unnecessary space and can slow down the system if there are a lot of them.
Whether they're downloads or local files that duplicate themselves when switching computers or profiles, getting rid of them can give your family member more space for things they actually use. Check out our guide on how to remove duplicate files and folders for help.
9. Verify & Repair Disk & Disk Permissions
Anytime your family installs a program or application on their computer, it includes files that act as permissions for what each user is allowed to do with it. When these permissions are changed, they can cause the computer to slow down, freeze, or sometimes crash. Disk permissions can be repaired using Disk Utility to find and correct differences between files.
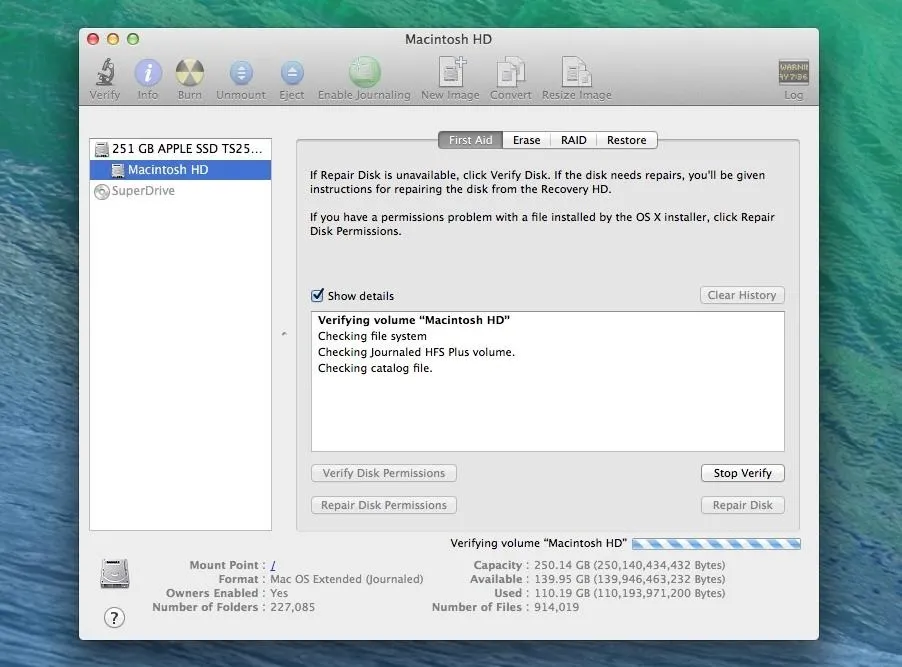
To launch Disk Utility, find it in the same place Activity Monitor was in, the Utilities folder under Applications. Select the computer's hard drive from the list on the left and click on Verify Disk Permissions to start the scan. Once it's done, you'll see a list of the permissions it found problems with. Click on Repair Disk Permissions to fix them.
Also, you will want to perform Verify Disk and the subsequent Repair Disk, which actually checks and tries to fix any issues with the directory structure on the hard drive itself. It's usually good to start with this option first, before fixing and repairing permissions.
10. Erase Free Space
Remember those unused programs you deleted? Your family's computer is still storing data where they used to be, but since the files are technically gone it registers as "free space" so it can be overwritten. This is another area where Disk Utility comes in handy.
First, make sure to Empty Trash in Finder, to make sure everything thing is already trashed. Then, open up Disk Utility and select the computer's hard drive from the list on the left. Click on the Erase tab, which will bring up a few options: Zero Out Deleted Files, 7-Pass Erase of Deleted Files, and 35-Pass Erase of Deleted Files.
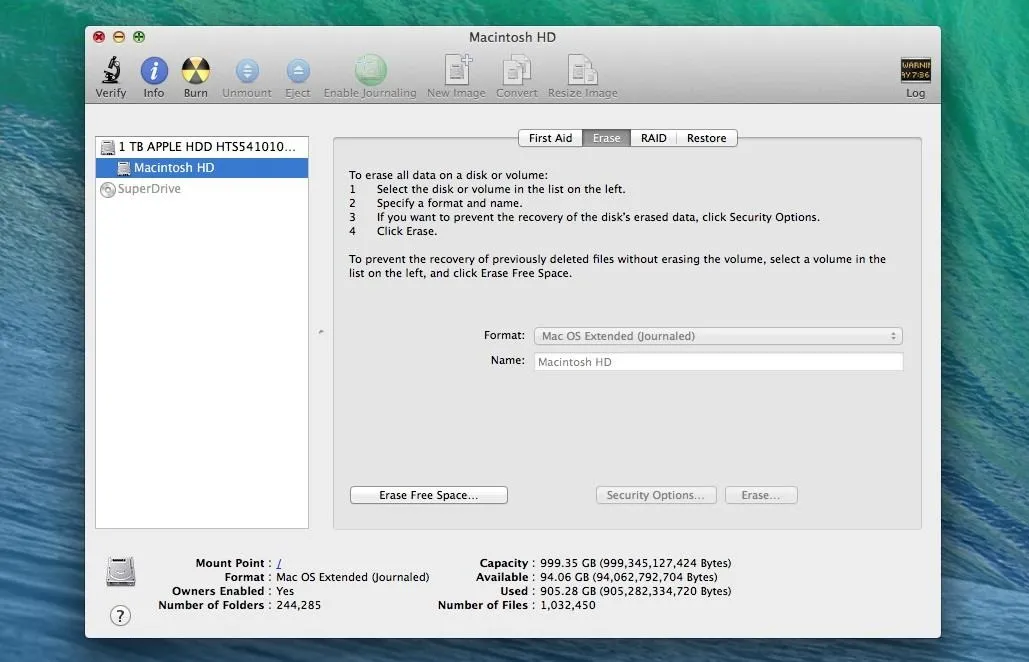
If all you're interested in is freeing up space, the zero-out option is fine. The other two options are more security-related and increase the number of times the old data is overwritten, making it harder to recover. Check out the Apple Support page for more details on what each option does.
NOTE: This option is not available if it's a newer Mac computer with a SSD (solid-state drive) installed. It only works with the regular HDD (hard disk drive).
Bonus: Setup Automatic Backups for Future Mishaps
To prevent problems from happening in the future, you can set up the built-in Time Machine utility to automatically back up everything on your family's computer. It takes snapshots of the entire system, so If they ever have issues, they can use Time Machine to restore and recover files.
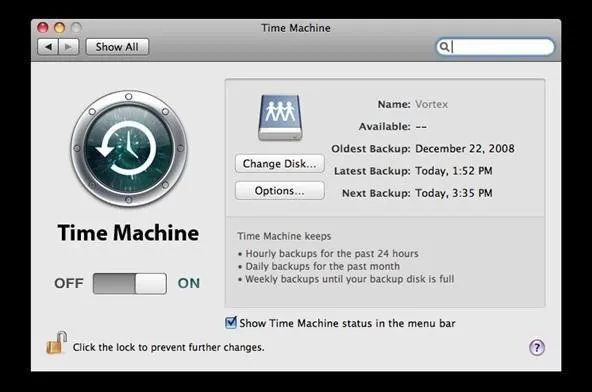
You can check out Alex Long's guide to find out how to configure automatic backups with Time Machine. It's pretty much the same process on any newer version of Mac OS X, and it's pretty intuitive. Just make sure they have a backup drive they can use, preferably a drive connected to Wi-Fi, so you never have to worry about them unplugging it from the computer.
And Now Their Mac Should Be Faster & Smoother
So, while you may want to rip your hair out every time grandma asks you to look at her computer, this guide should give you a good starting point for fixing some of the more common problems and speeding up the computer overall. Besides, extra brownie points never hurt—especially during the holidays.
Mac mini photo via Blakespot/Flickr


Comments
Be the first, drop a comment!