Apple makes it easy to access your favorite and most recently used applications and documents in Mac OS X. You can simply add your favorite apps and folders to the dock, and you can always visit the Apple menu from the menu bar to see a list of your most recently used apps and docs.
However, the Recent Items menu isn't as efficient as I'd like, and the dock can get pretty cluttered if there's a lot of apps and folders on it. Luckily, there's a simple OS X trick that'll help solve both of these issues.
- Don't Miss: 10 Screen Savers Your Mac Needs Right Now
There's a Terminal command you can use that will place a Recent Items list directly in your dock, and it can show recently used apps, documents, and servers, as well as favorite volumes and items. This can help keep your dock clean and organized, and make faves and most-used items easier to find.
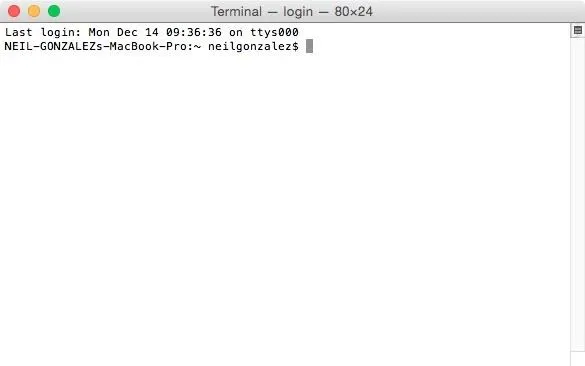
Open Terminal
Open up a Terminal window by either using Spotlight Search (Command + P) to look for Terminal or navigating to Applications -> Utilities -> Terminal.
Use the Command
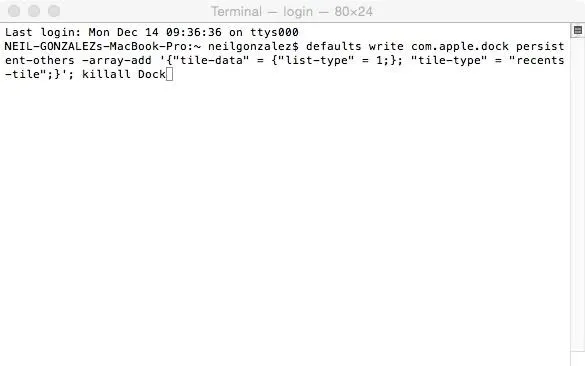
Within Terminal, use the command line defaults write com.apple.dock persistent-others -array-add '{"tile-data" = {"list-type" = 1;}; "tile-type" = "recents-tile";}'; killall Dock, which you can copy and paste from here. (Make sure to hit Enter after you enter the command.)
Enjoy & Customize
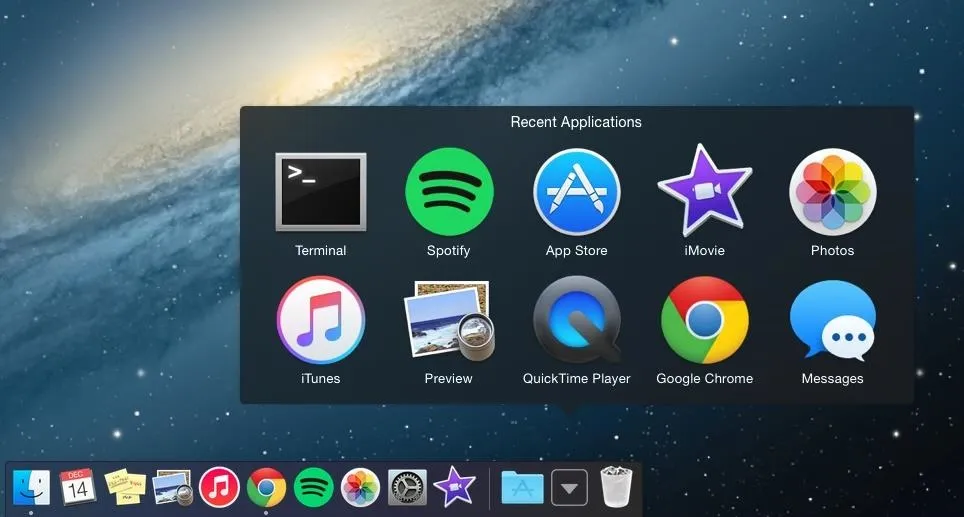
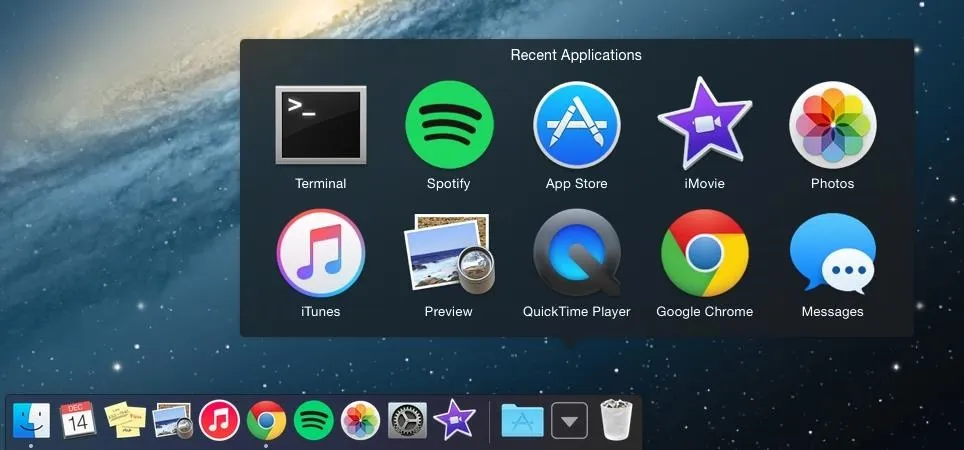
Your dock should refresh, and you can now close Terminal. There will be a new icon on the right side of your dock displaying stacked apps.

Clicking on it will open a grid view of your ten most recently-used applications.
To change the display style or content of the drawer, right-click (or Command + click) to see the available customization options. You can use a fan or list view, and even choose to show recent documents and servers, or favorite volumes and items. If there are no recent or favorite items in any of the sections, it will simply show a blank space in your dock.
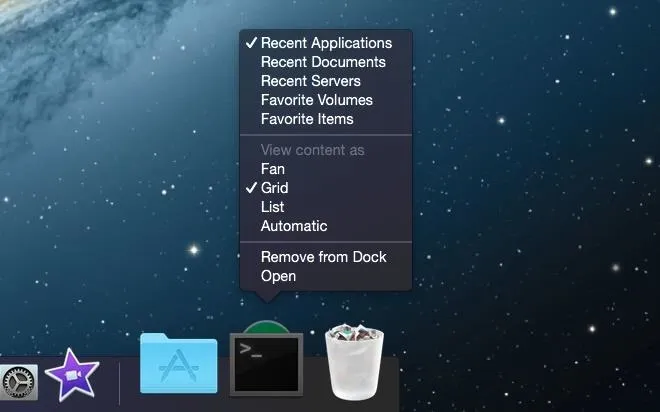
Right-clicking will also give you the option to remove it from your dock, so that you don't need to enter anymore Terminal commands; you could also just drag-and-drop it off the dock to remove it as well.
For more useful tips, follow Apple Hacks over on Facebook and Twitter, or Gadget Hacks over on Facebook, Google+, and Twitter.











Comments
Be the first, drop a comment!