


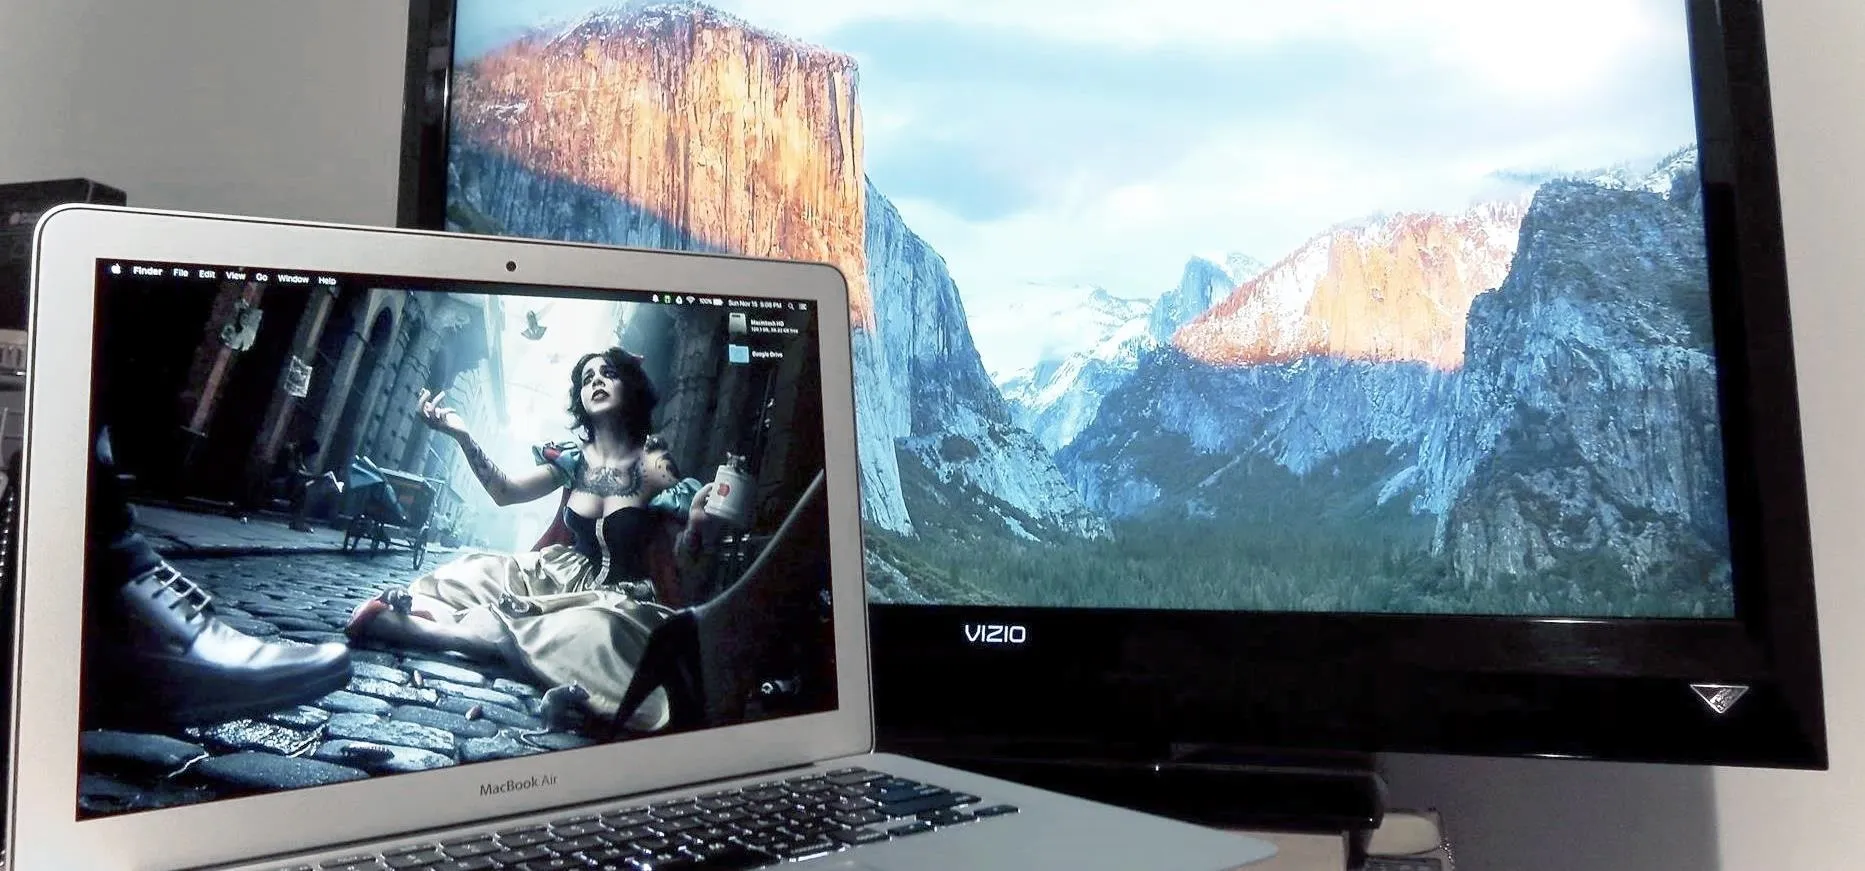
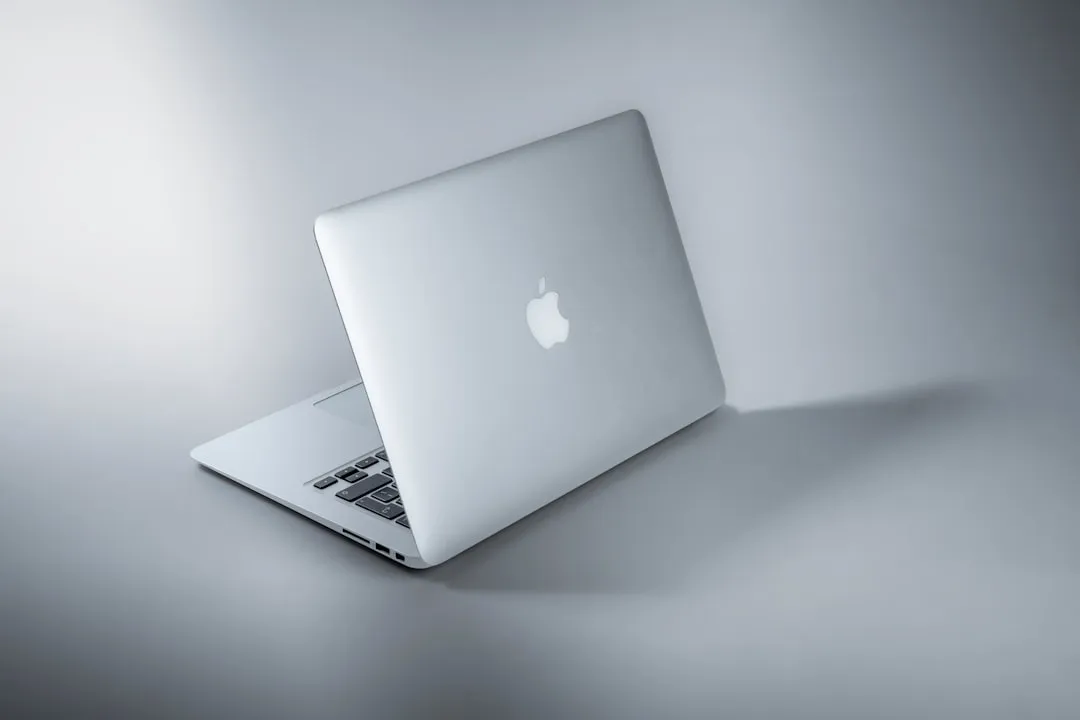
If you have no desire to get a separate Mac desktop computer, but want to either supersize your laptop's screen for gaming or need to get additional screen real estate while you work, then connecting your MacBook, MacBook Air, or MacBook Pro to an external display is the right call.
Connecting Your External Display
Whether you are connecting your external monitor to your Mac notebook using HDMI, Mini DisplayPort, Thunderbolt, DVI, Mini-DVI, or Micro-DVI, the process is exactly the same.
Simply connect your computer to your external display with the proper cable/s (and adapters, if necessary) and make sure the monitor is powered on. Your Mac should automatically detect the additional monitor, and it will act as an extended desktop to your primary one (AKA your Mac's screen).
You can change its desktop background in System Preferences -> Desktop & Screen Saver, if you want a different look.
If for some reason your monitor isn't recognized by your MacBook model, open up System Preferences, and in the Displays settings pane, click on Detect Displays. If you see Gather Windows instead, hold down the Option key to make it change to Detect Displays, then click on it. This should make your external display function properly.
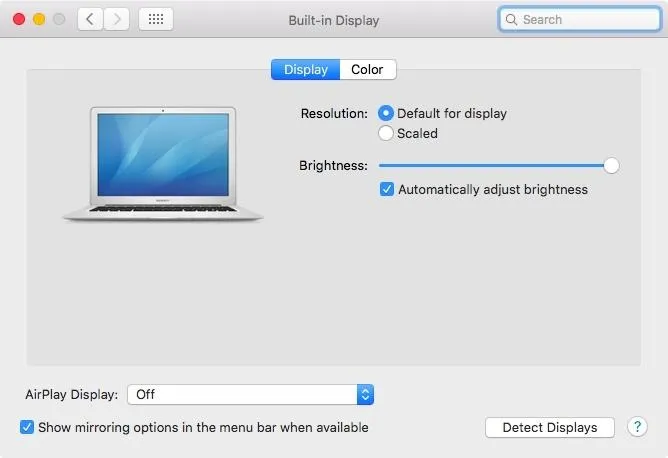
If it still doesn't work, or you don't see the Detect Displays button, make sure your cables are connected well (and that you have the right cables/connectors), and that the monitor is powered up, then try again. You may have something wrong with your cables/connectors or ports if it still doesn't work.
Setting Your Monitor as Your Primary Desktop
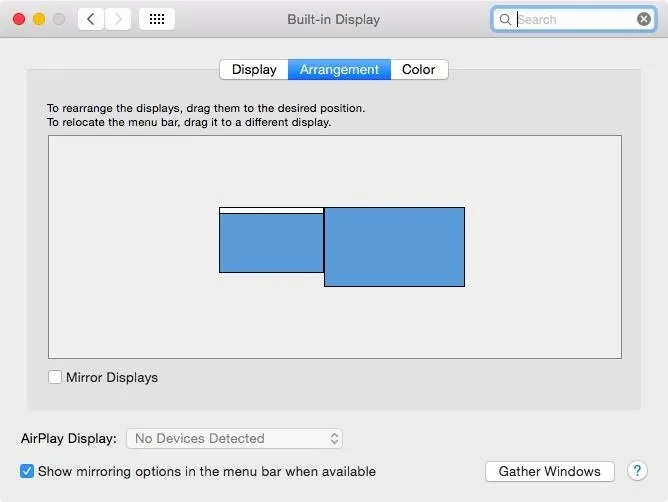
Now that you have your new monitor connected and detected, you may want to set it as your primary desktop. This will make it so that your menu bar, dock, and desktop (as well as everything on your desktop) are displayed on the external monitor instead of on your Mac's screen.
To do that, head to System Preferences -> Displays, and in the Arrangement sub-menu, drag the small white menu bar box over your Mac's desktop window to the larger external monitor's thumbnail. Both screens will automatically refresh to the new configuration.
Adjusting the Display Resolution
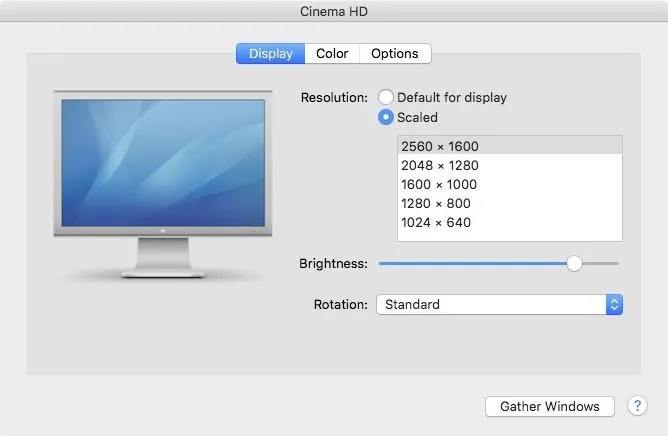
If you don't like the resolution of your second monitor, you can change it from the default to a scaled version that's better suited to your needs. Though, I always find that the default ends up being the best, so if you're unsure, just stick with that. On your external monitor's settings, just make sure Display is selected, then change "Default for display" to "Scaled" and choose your preferred resolution.
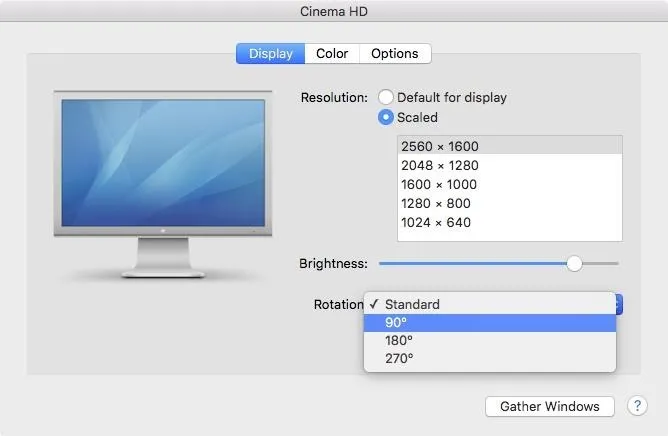
Rotating the Display
Some people, like graphic designers, like to have their second monitor in a vertical position vs. landscape. If your monitor is equipped to rotate between vertical and landscape orientations, and you want the vertical look, you'll need to make sure your settings are adjusted as such. On your external monitor's settings, just make sure Display is selected, then change Rotation to whatever you need it to be.
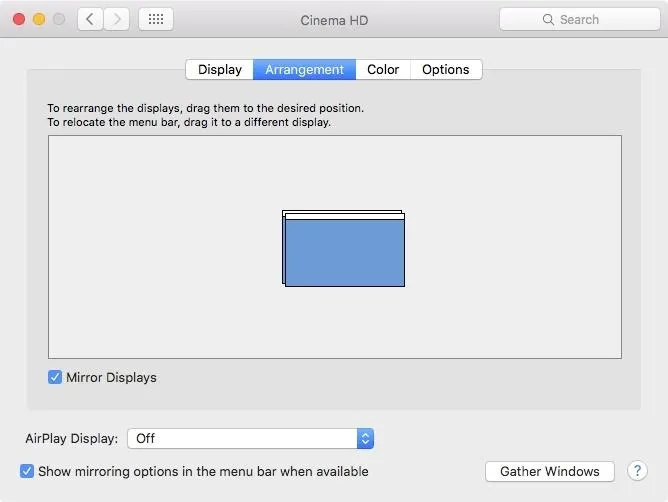
Mirroring Displays Instead
Alternatively, you can enable Mirror Displays (just check the box next to it) to have your external display show the exact same thing that appears on your Mac's screen. When video mirroring, your Mac will try to use the same resolution, or closest resolution, that it uses on its built-in display to the external monitor.
Using Your Mac with the Lid Closed
If you don't want an extended desktop, and don't want to mirror your displays, then you probably just want a bigger screen for your computer. This can be done using clamshell mode. In order to do this, your Mac notebook will need to be connected to its power adapter, and you'll need an external keyboard and mouse (or trackpad).
If using a wired keyboard and mouse, make sure they're connected, then simply close the lid on your Mac notebook. If you're running OS X Lion or later, your desktop should automatically appear on the monitor after flashing blue for a second. For those of you with Snow Leopard or older, you'll have to press a key or click a mouse button to see the desktop.
For a keyboard and mouse connected via Bluetooth, it's the exact same thing, except you need to verify the devices are paired properly, and you need to make sure "Allow Bluetooth devices to wake this computer" is checked by going to System Preferences -> Bluetooth -> Advanced.
To exit clamshell mode, put your computer to sleep, then disconnect the external monitor from your Mac's display port.
More Options for External Monitors
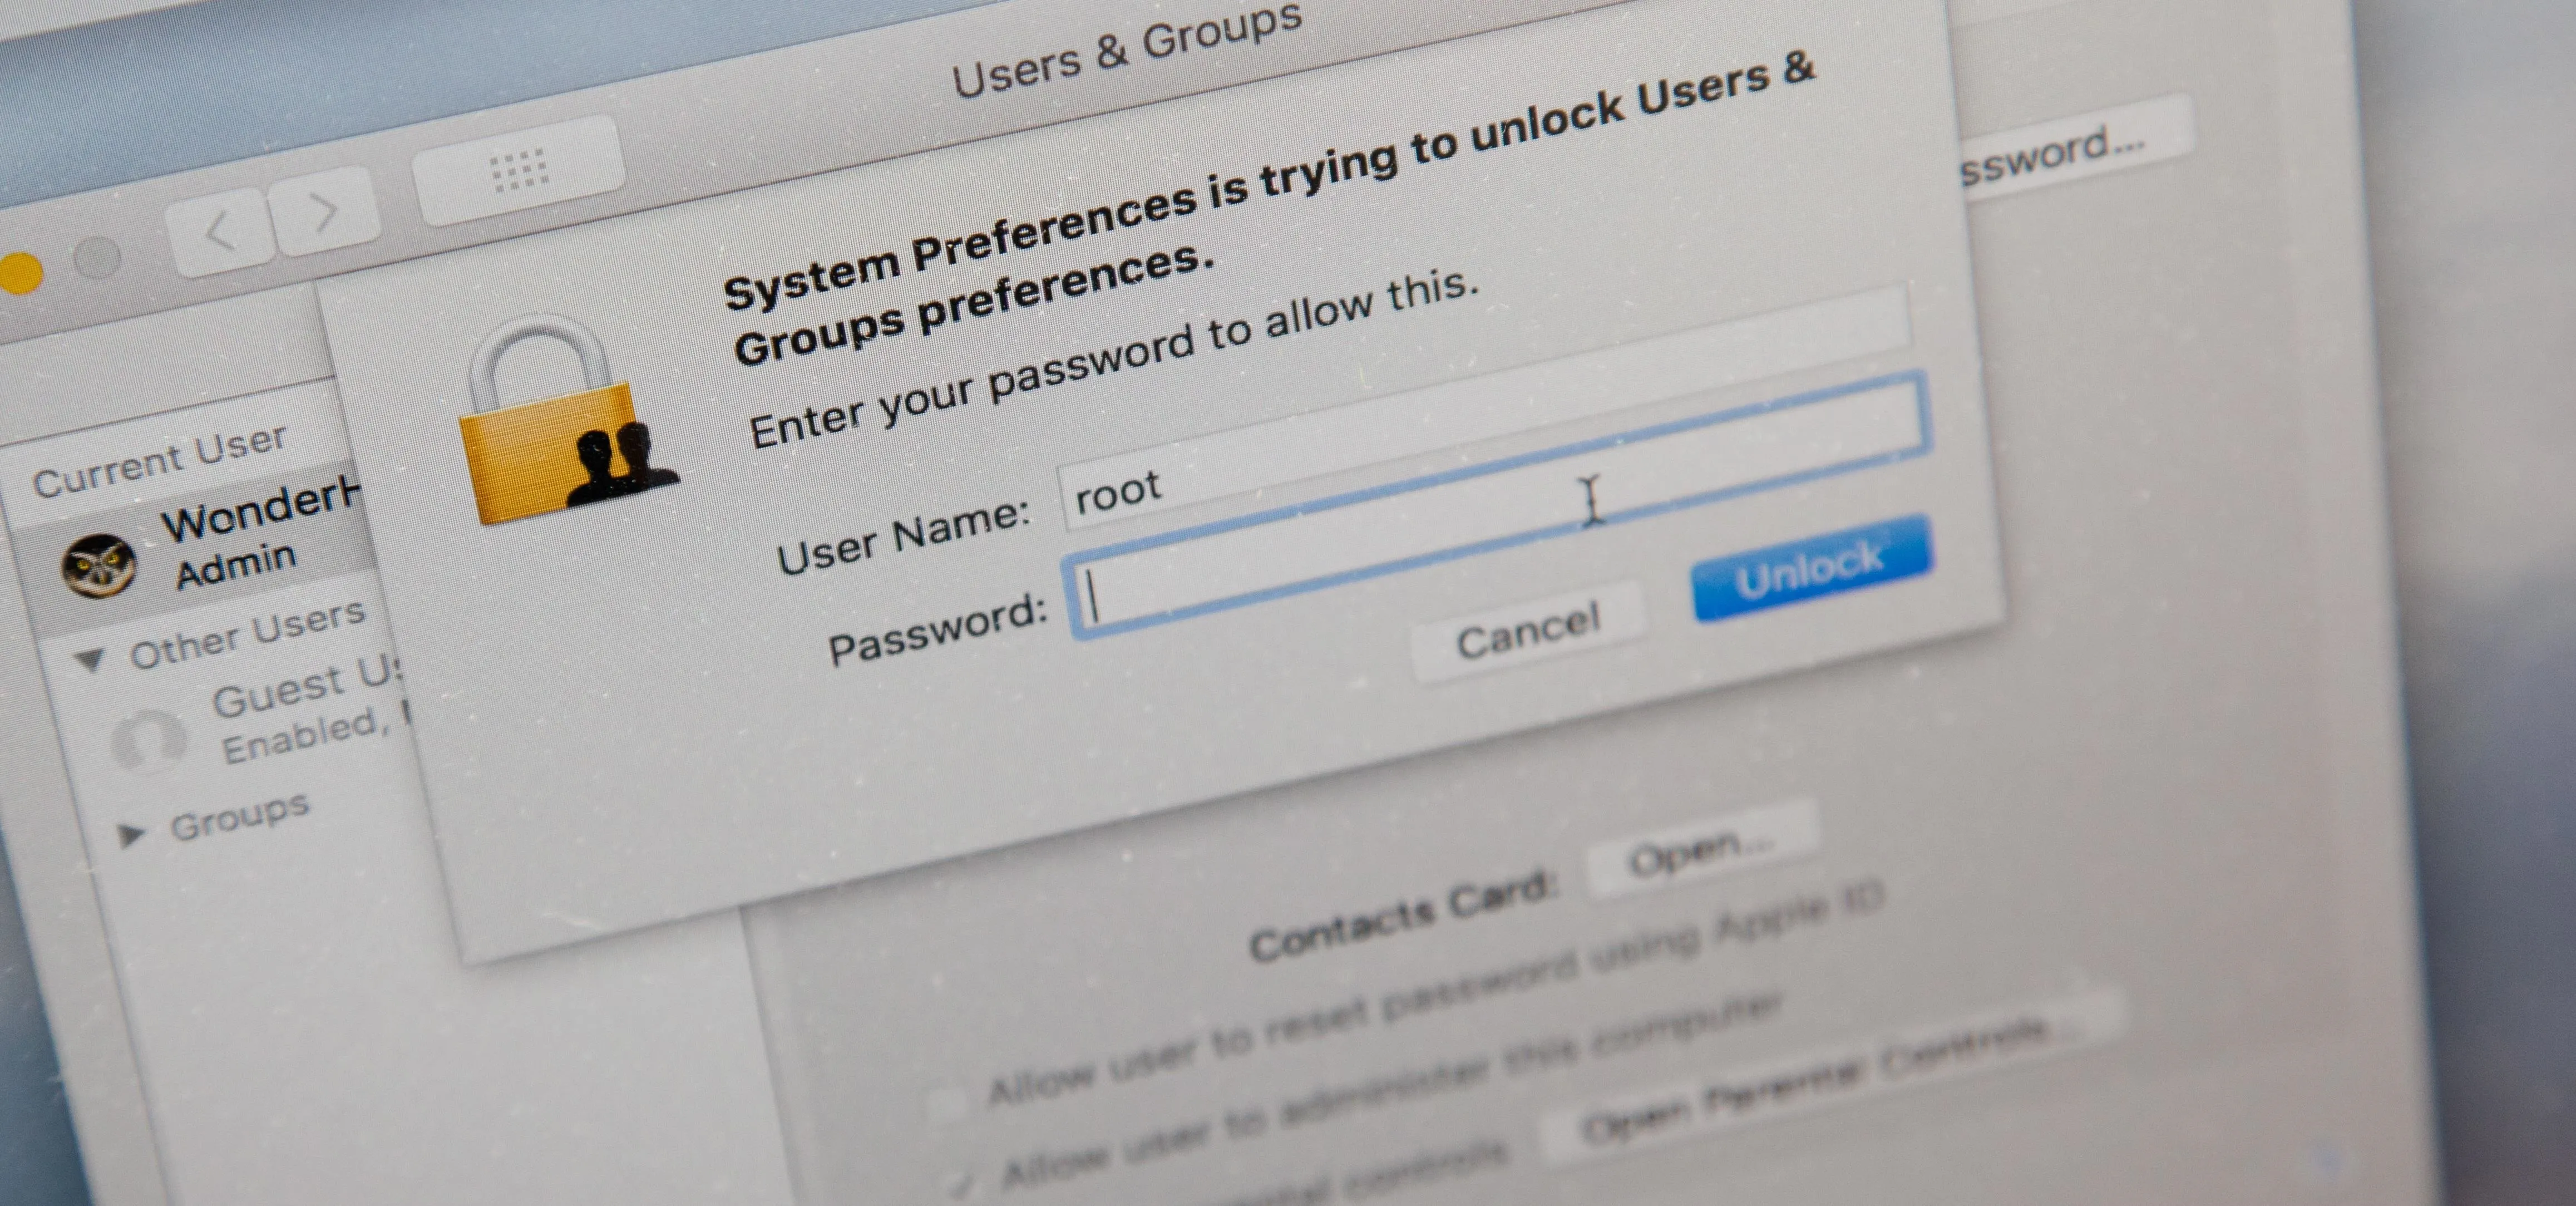
In your external monitor's settings, depending on the type of monitor you have, you may have other options you can customize, under the Options tab. To make any changes, you'll need to click on the lock icon and enter your admin password.

Then, depending on your monitor, you can enable its power button to put the computer to sleep or wake it, or do nothing at all. You can also disable the brightness button on your monitor.
Follow Apple Hacks over on Facebook and Twitter, or Gadget Hacks over on Facebook, Google+, and Twitter, for more Apple tips.


Comments
Be the first, drop a comment!