Since the new Mac OS X 10.11 El Capitan is brand new, I recommend installing it on a separate partition on your hard drive. This will keep your current Yosemite system safe from harm, and will let you easily switch back to it should El Capitan become unusable for any reason.
Dual-booting will also let you uninstall El Capitan easily (you just delete the partition) should you decide you're not ready for it. You will be stuck with the El Capitan recovery partition, though, so you won't be able to recover Yosemite unless you have a Yosemite bootable drive.
- Don't Miss: How to Create a Bootable Install Drive of El Capitan
- Don't Miss: How to Use Split View Mode in OS X El Capitan
System Requirements
If you're running Mac OS X 10.10 Yosemite on your computer right now, chances are you're all ready to go for 10.11 El Capitan. Below is the full list of supported computers.
- iMac (Mid 2007 or newer)
- MacBook Air (Late 2008 or newer)
- MacBook (Late 2008 Aluminum, or Early 2009 or newer)
- Mac mini (Early 2009 or newer)
- MacBook Pro (Mid/Late 2007 or newer)
- Mac Pro (Early 2008 or newer)
- Xserve (Early 2009)
Also, you'll want to make sure to give your second partition at least 20 GB of space to play around with—more if you plan on using it a lot. I ended up going with 42 GB.
You may want to make a bootable install USB drive of El Capitan just in case you need to try again, or want to install it on another one of your computers without downloading the install file again from the Mac App Store. You don't need one, but I recommend it.
Create a New Partition
Open up Disk Utility on your Mac, and in the left section, select the hard drive that your main OS partition is installed on. Then, select the Partition tab.
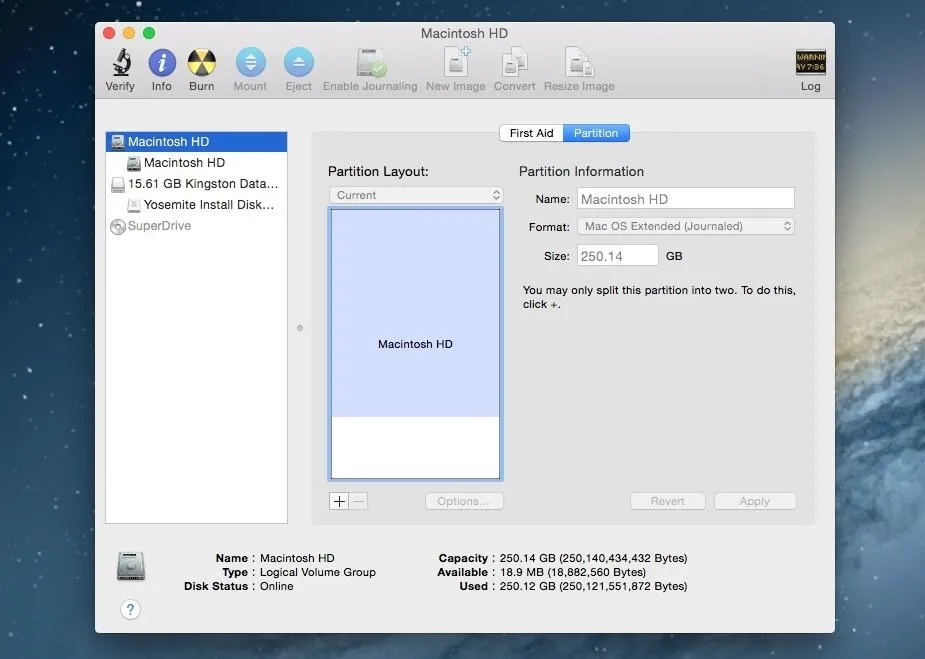
Hit the plus sign (+) to add a second partition, name it El Capitan (or whatever else you want), choose the Mac OS Extended (Journaled) format, choose your size for the new partition, and hit Apply.
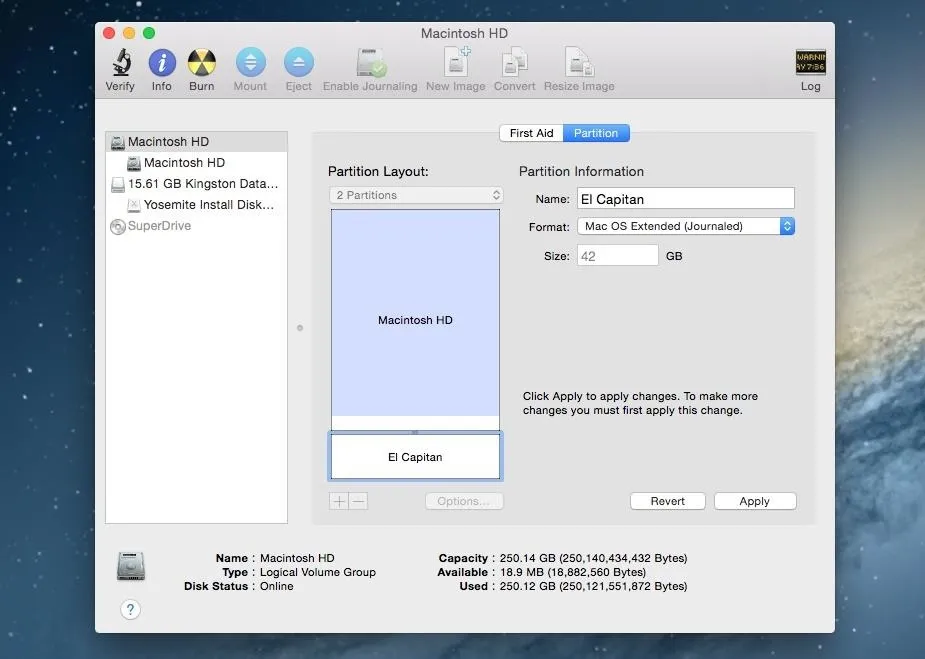
In my case, I chose 42 GB for more El Capitan partition. Again, you can choose whatever you want, though I recommend at least 20 GB.
Next, hit the Partition button to confirm.
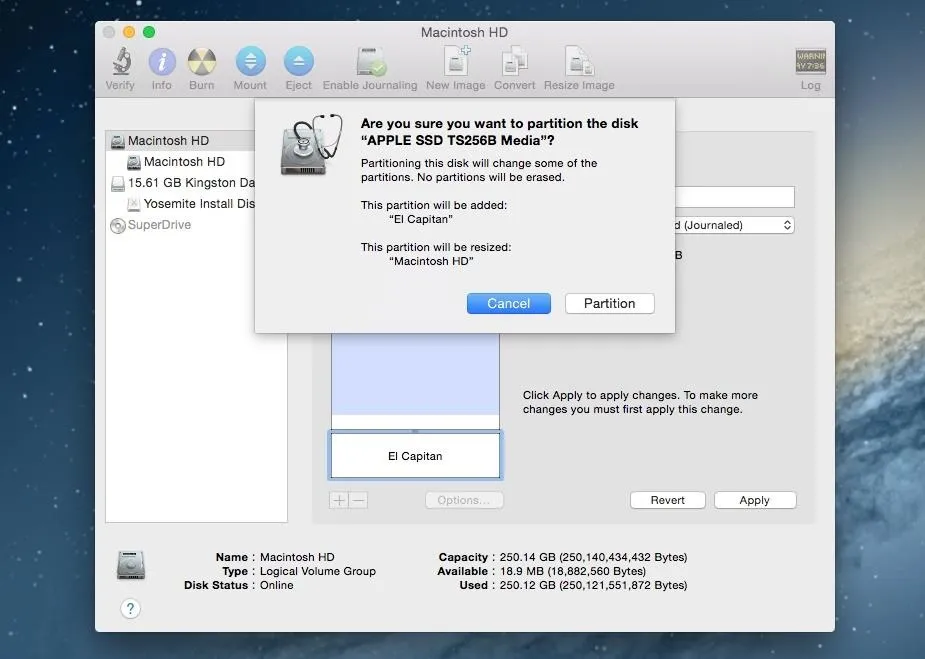
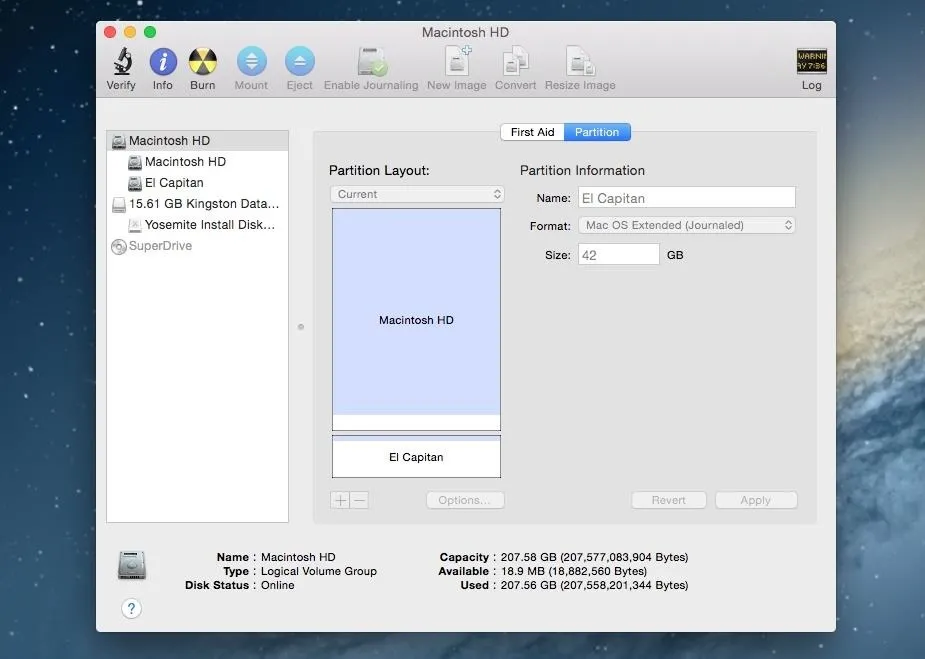
Then you have to wait. It'll go through the process of checking the catalog hierarchy, shrinking the disk, updating your recovery partition location, etc. Once it's all done, your new partition will automatically mount.
What if You Can't Create a New Partition?
If you're having issues creating a new partition in Disk Utility, please see my previous guide on dual-booting Mavericks and Yosemite for help.
Open the Mac OS X 10.10 Installer File
If you're not using a bootable install USB drive of El Capitan, just head to your Applications folder and double-click on the "Install OS X El Capitan" file.
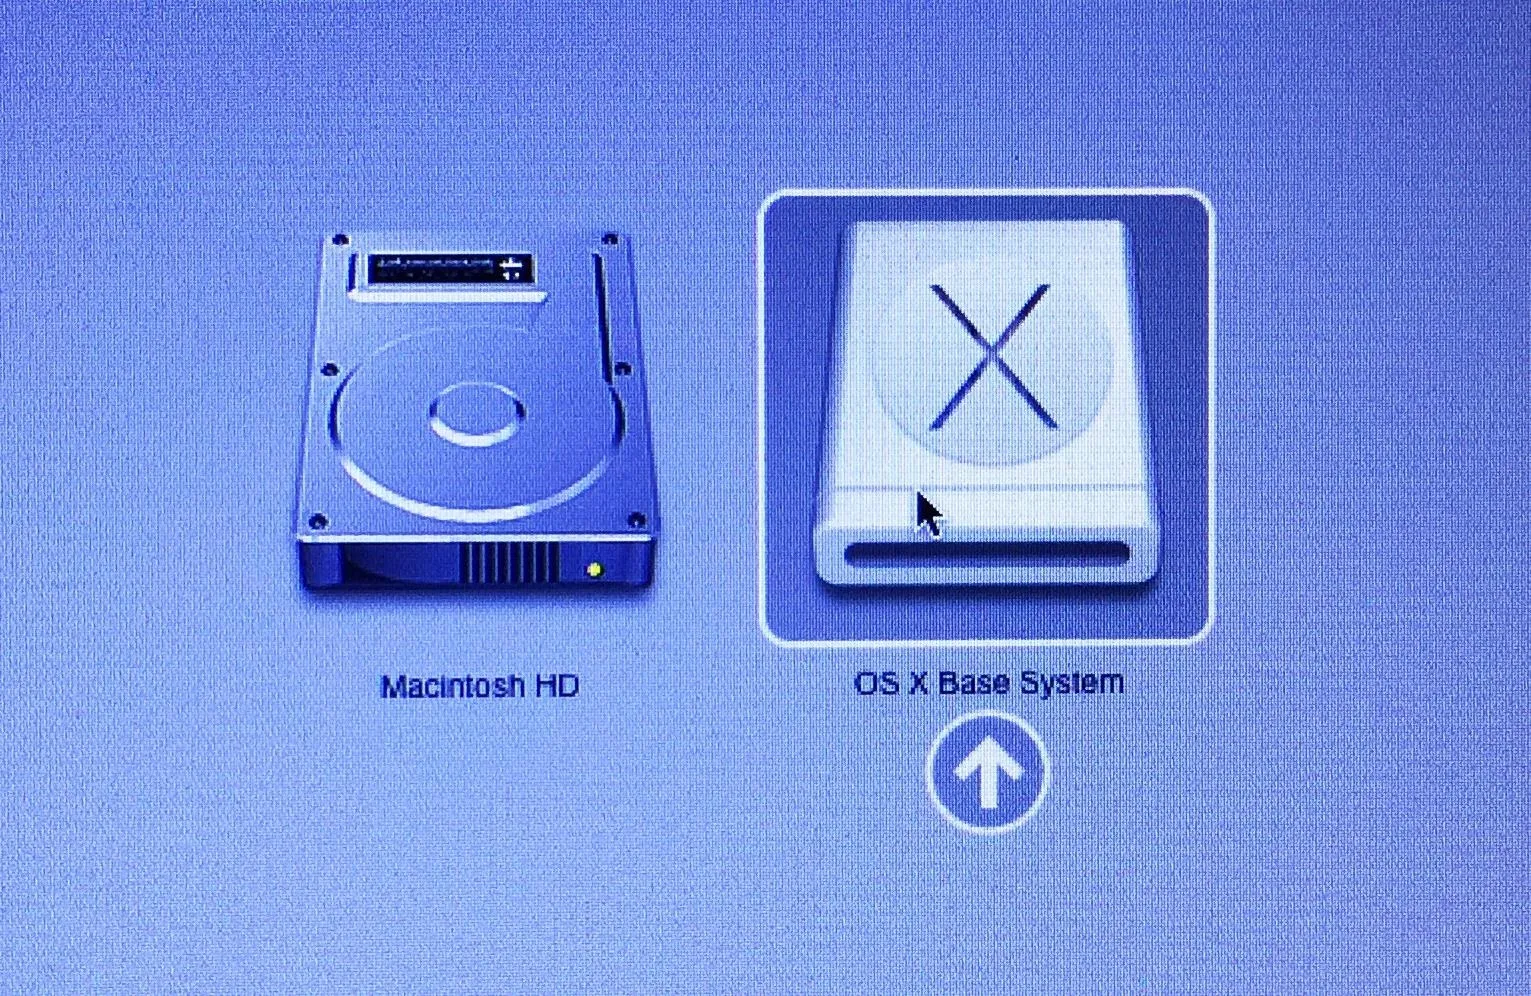
If you are using the bootable drive, restart your computer while holding the Option (Alt) key. Wait until the Startup Manager pops up, then select your new OS X Base System volume. Alternatively, you can just hold down the C button while starting up to boot directly into the USB drive.
Install Yosemite on Your New Partition
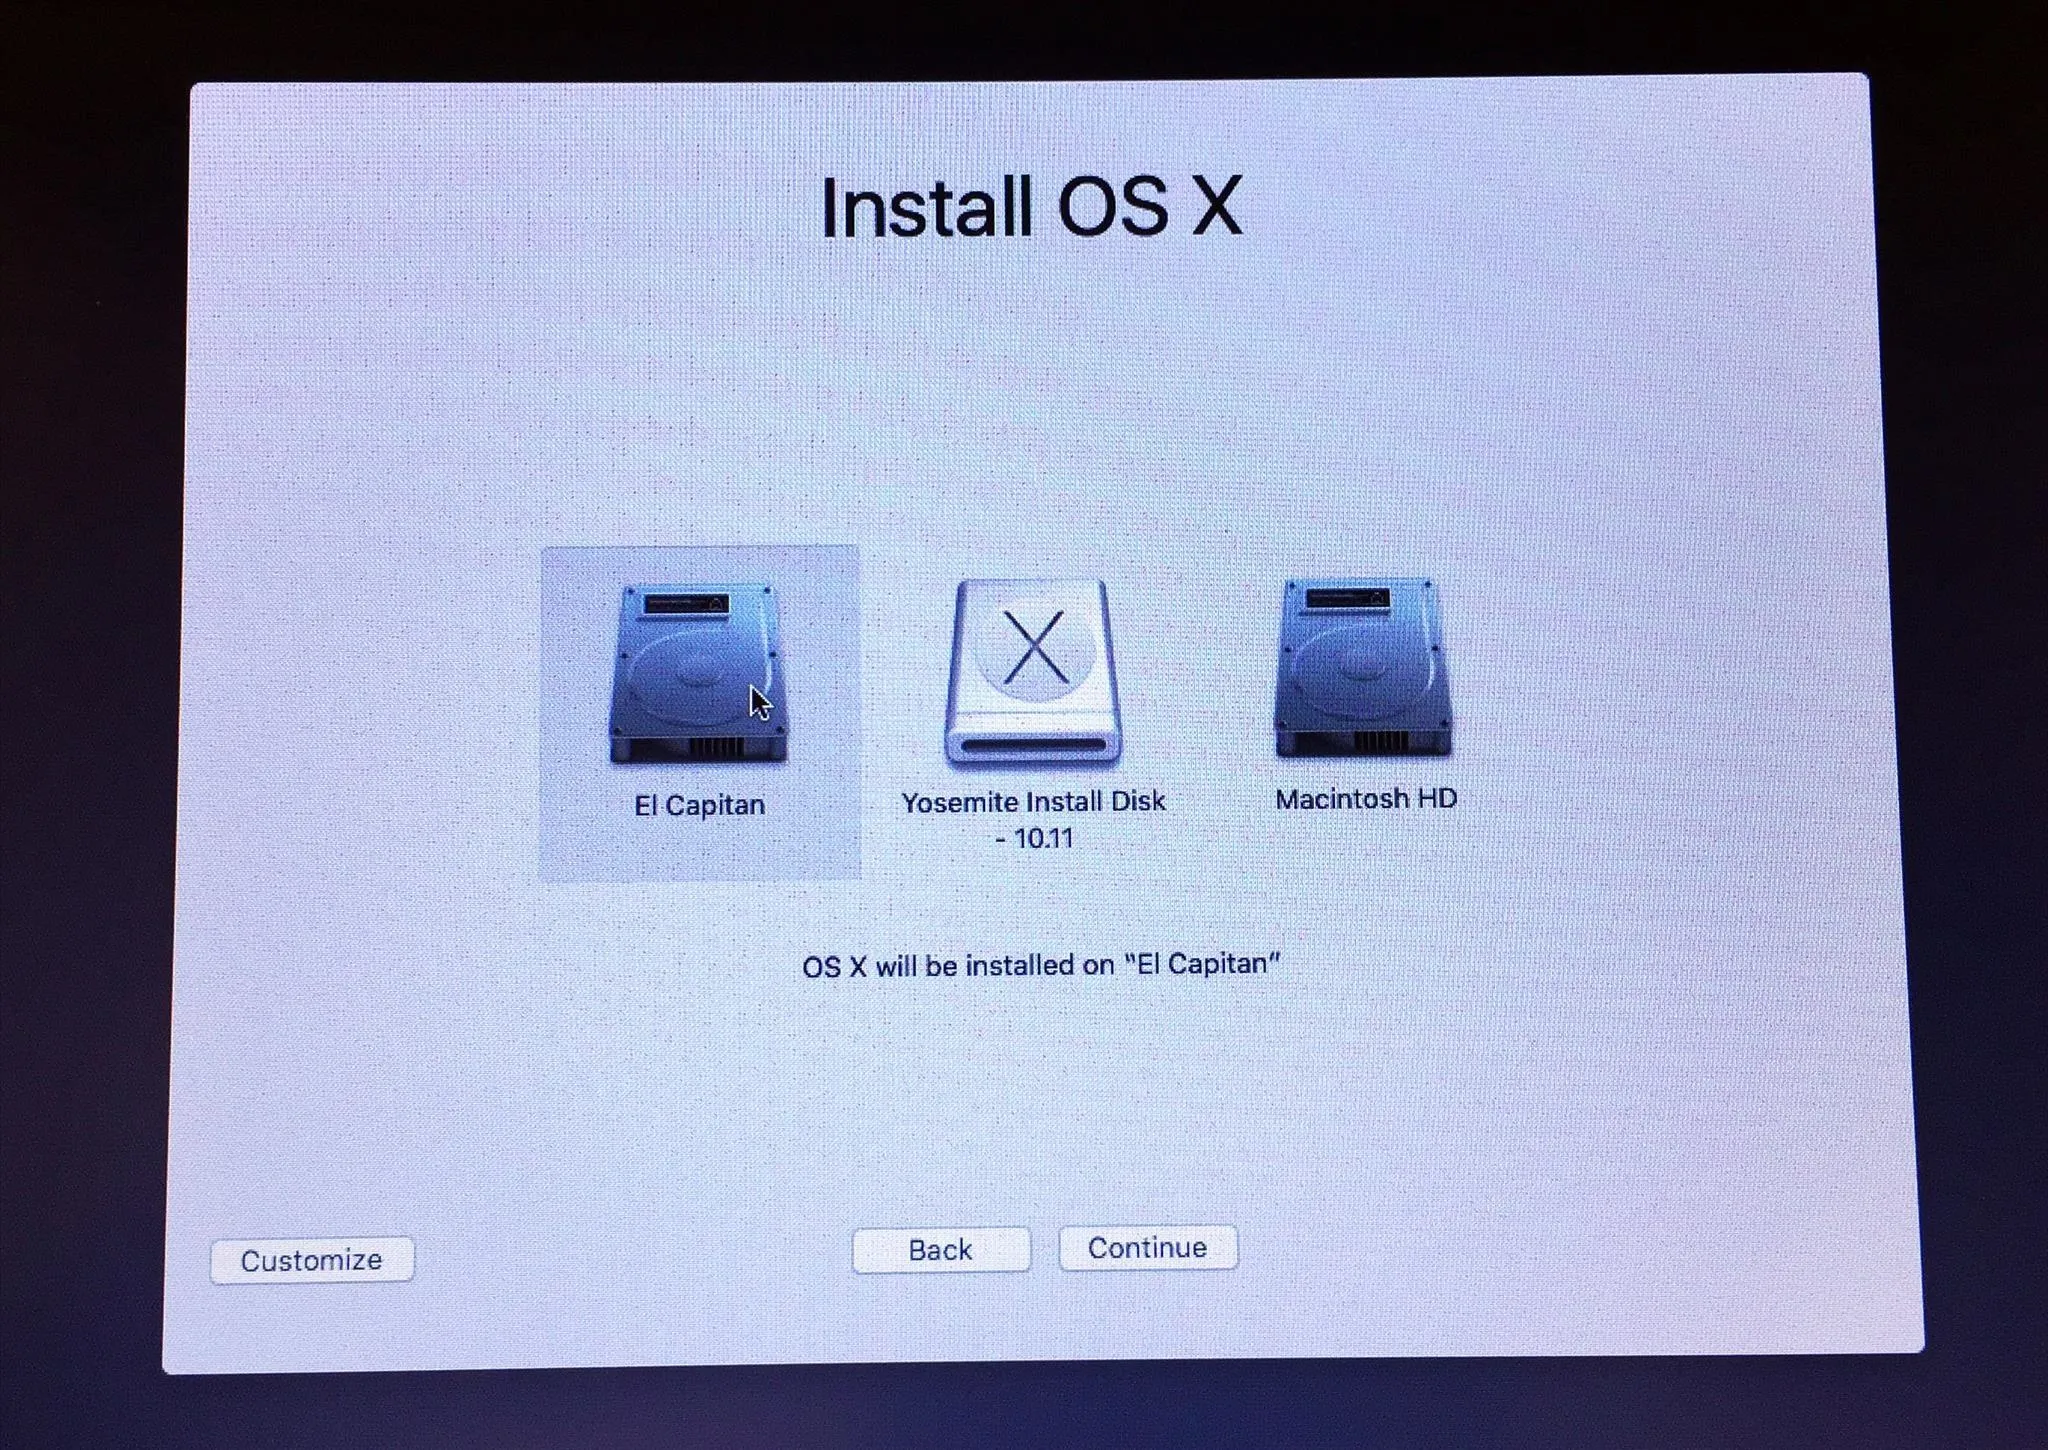
Now all you have to do is follow the on-screen instructions. When you come to the Install OS X screen, make sure to select the right disk, in my case, that's El Capitan.
Once it's done installing, you'll get to the Welcome screen, and you should be able to figure it out from there.
I would recommend not using Migration Assistant to transfer files over from your Mavericks installation, as this will just duplicate everything—unless you have to hard drive space to actually do that. I would skip it and install all of the third-party apps you want to play around with directly from El Capitan to see if you like it first, and to make sure all of your important apps are working correctly.
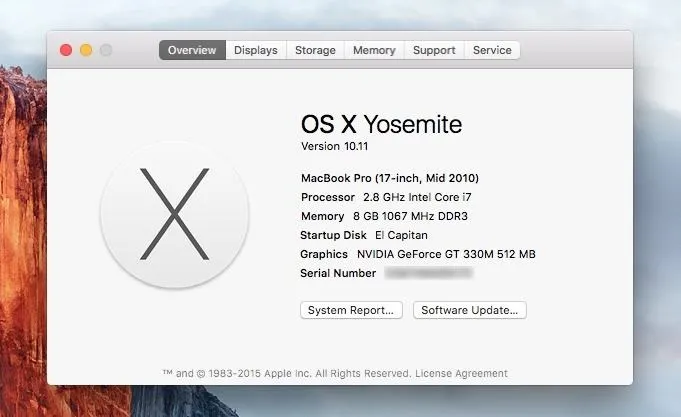
Whenever you want to switch from El Capitan to Yosemite, just restart while holding down the Option (Alt) key and select which one you want to boot.







Comments
Be the first, drop a comment!