If you've been around computers long enough, you've probably heard the phrase "have you tried turning it off and on again?" This trick usually works because it forces your computer to empty out the contents of its RAM and disk caches when you restart.
When you run programs and do other activities on your computer, content of different sorts gets loaded into the RAM and disk caches, and when you quit a running program, all that loaded content should be purged from memory.
OS X is responsible for memory management (unloading RAM and disk cache contents), and proper memory management is crucial in ensuring your machine is running smoothly. OS X does a quite decent job of memory management, but it's not perfect.
Sometimes the RAM and disk caches are not emptied properly, even though they were supposed to (like when you quit a running program), and this can lead to issues. To remedy this, you can force your Mac to clear out the RAM and disk caches without rebooting, which can be very useful if you want to give your system performance a "boost" without restarting.
Launch Terminal
Terminal is a program that lets you to carry out command line operations; launch it to begin. You can find it in your Utilities folder in Applications, in your Launchpad, or via Spotlight Search.
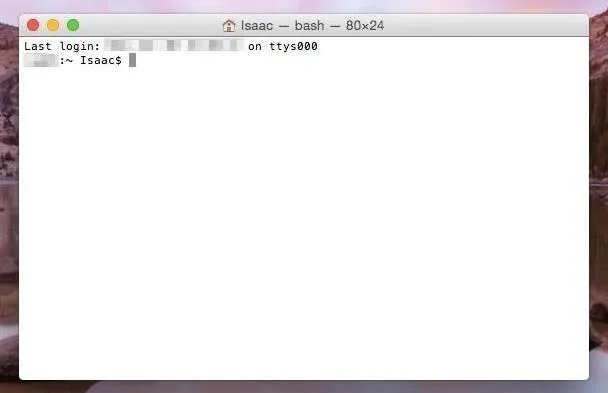
Depending on your customization settings, your Terminal window may look different.
Commence the Purge
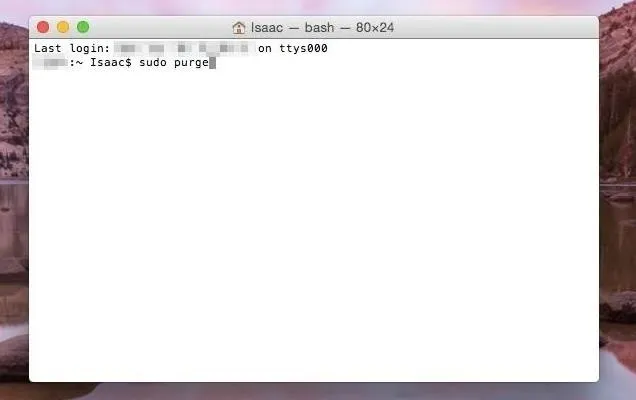
Now, just type in sudo purge inside the Terminal window and hit Enter. This will begin the process of clearing your RAM and disk cache contents.
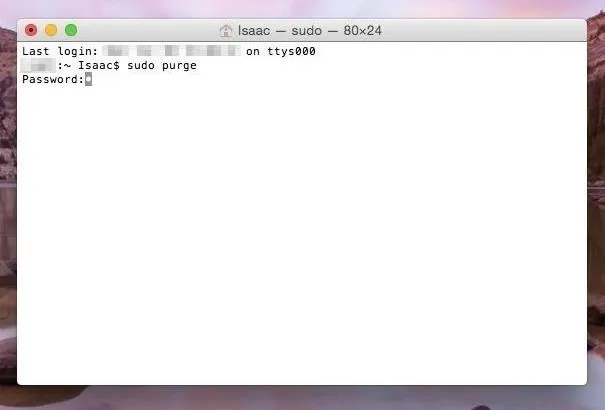
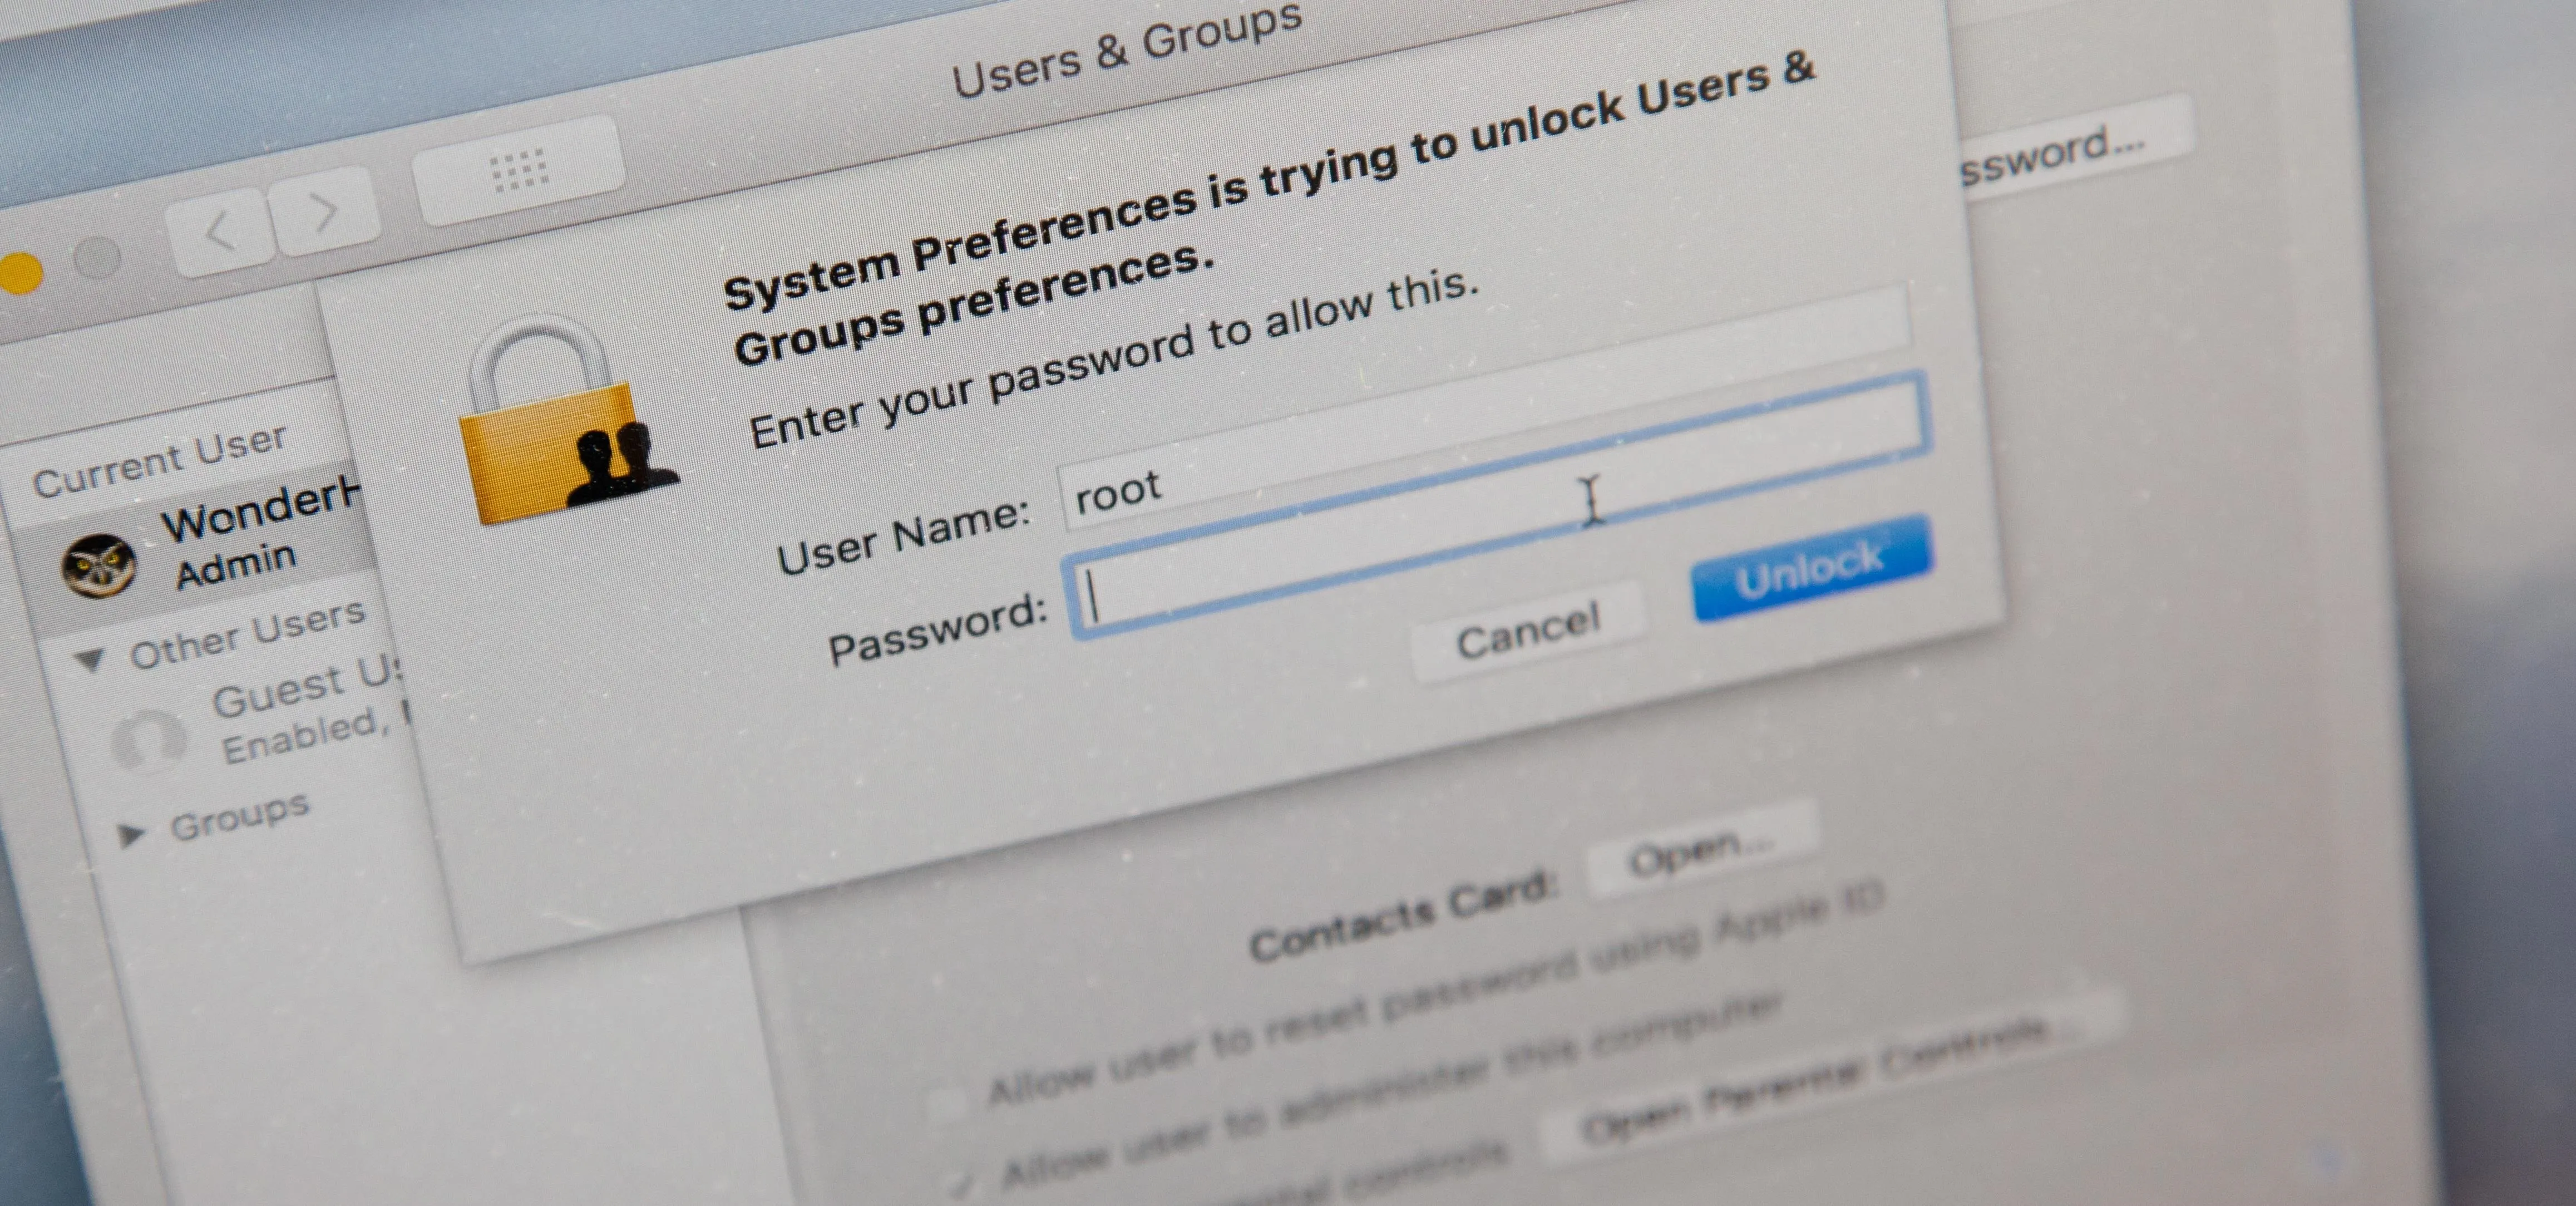
You will get a prompt asking you to type in your password. In OS X 10.9 or higher, this command requires an administrator password, hence the use of sudo. Go ahead and type your password in—Terminal won't show your password for security reasons. When you're done, hit Enter again.
To Make This Process Even Faster...
Try creating an app or service in Automator. While it may take you 5-15 seconds to perform the above task in Terminal each time you want to, you can create a shortcut that will make it more around 2-5 seconds each time with an easy clickable action.
To create a service, open up Automator, then choose to start a "Service." Next, drag "Run AppleScript" over to the right pane, then use the code below in the box. Then just save it as "Sudo Purge" or "Purge" or whatever you want to name it. When you want to use it, just select the name of whatever app's currently selected in the menu bar, choose "Services," then whatever you named it.
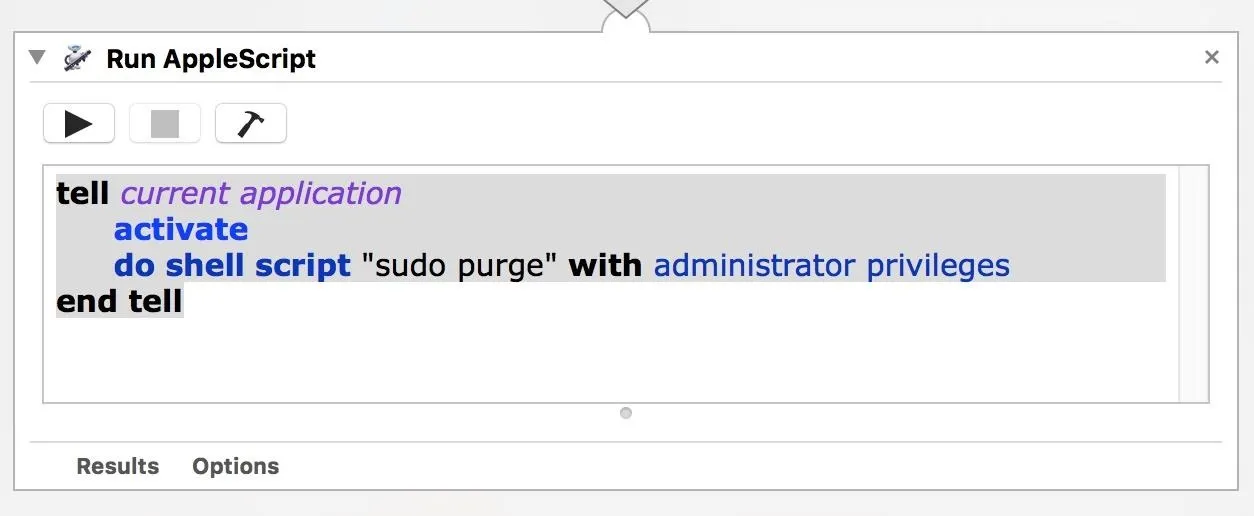
To make an app that you can click on from your Dock, or wherever, open a new file in Automator, select "Application," and do the same exact thing as above. It will save as an Automator application that you can place wherever you want. You can change the app icon too if you want.
Limitations of the Purge Command
The purge command can be useful, however, it has some limitations. The most prominent benefit of the purge command is to flush out the used up RAM and disk cache contents to improve system performance. However, OS X in more recent years has definitely become a lot smarter with memory management, which should cover a lot of usage scenarios.
Naturally, the purge command is not a substitute for more RAM. For example, if you're doing video editing with only 4 GB of RAM, then upgrading your current setup so that you have more RAM available would make more sense rather than continually using the purge command.
In some cases, a hard reboot is needed. For example, if for whatever reason you need to empty out everything in the RAM and disk caches, then you should restart. Also, as declared before, Terminal is a powerful tool, so if you're not comfortable working with the command line, then you should perhaps avoid using this for now.
Still, the purge command, in the right circumstances, can be a useful trick for helping to give your Mac that second wind it sometimes needs!
Follow Apple Hacks over on Facebook and Twitter, or Gadget Hacks over on Facebook, Google+, and Twitter, for more Apple fun.
Cover image via Shutterstock











Comments
Be the first, drop a comment!