Spotlight, Apple's selection-based search system, received a major facelift on Mac OS X Yosemite. Packed with dozens of new features, such as a central search window and increased app suggestions, the reworked Spotlight was a breath of fresh air.
While the Spotlight Search tool is extremely powerful, it may also be hard to control at times, due to the sheer amount of features and settings it has. Entering a simple keyword brings up dozens of suggestions, which can make it difficult to find exactly what you're looking for.
Whatever the problem (you're sure to have at least one), with this guide, we're going to help you tame Spotlight and customize it to your liking.
Tip #1: Change or Disable Spotlight's Keyboard Shortcut
Keyboard shortcuts make our lives easier by providing the quickest way to perform functions on our computers. Spotlight is no different—simply hit Command + Spacebar on your keyboard and the search window comes up no matter what app you're in.
But other apps also use the Command + Spacebar shortcut, which means you won't actually be able to use it—you can only bring up Spotlight Search. For example, in Photoshop, it's used to bring up the Zoom In tool.
Thankfully, you can easily solve this issue by either changing the Spotlight keyboard shortcut or disabling it completely. Do this by going to System Preferences -> Spotlight, where you can either uncheck the box next to "Spotlight search keyboard shortcut" or change the shortcut through the drop-down menu to the right of it.
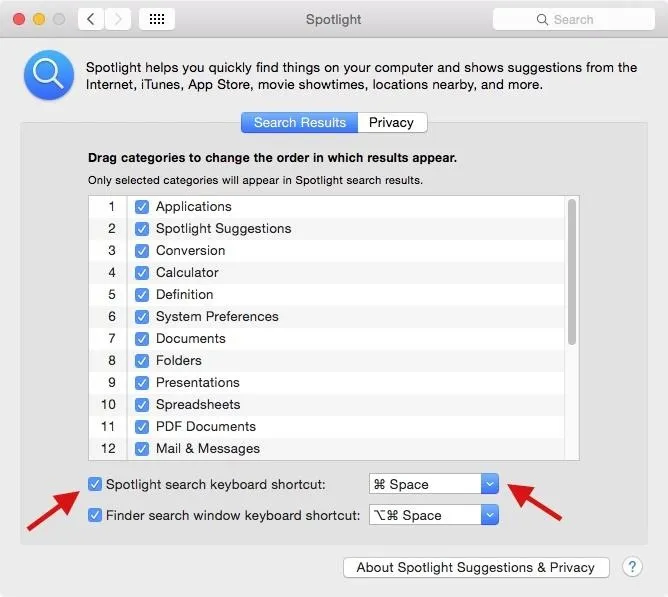
You can choose from a handful of F-key shortcuts in the drop-down menu, or enter your own keyboard shortcut by clicking in the box.
Tip #2: Organize & Remove Spotlight Entries
Using Spotlight, you're bound to get entries that you deem unnecessary or unimportant. For instance, while it may be useful for some, I never really care for the definitions that come up, which always show up at the top of my search results.
Through System Preferences -> Spotlight -> Search Results, you can move around the categories that show up in Spotlight Search. Just drag them around to place the most important categories at the top of the list. To completely remove categories from showing up in Spotlight Search, uncheck the box next to them.
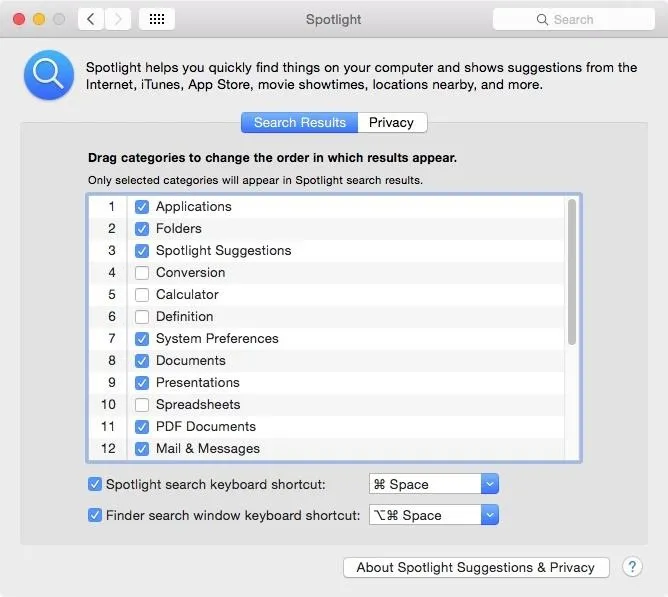
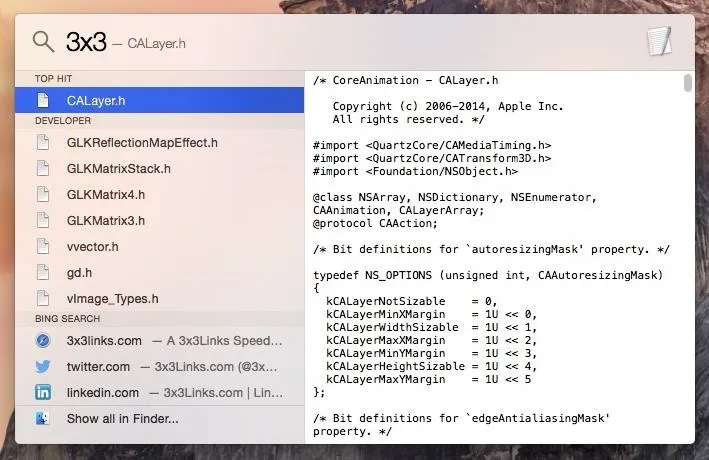
Since I unchecked Calculator, you can see that inputting numbers and math symbols into Spotlight doesn't bring up anything except for certain files on my computer.
Tip #3: Add More Search Suggestions to Spotlight
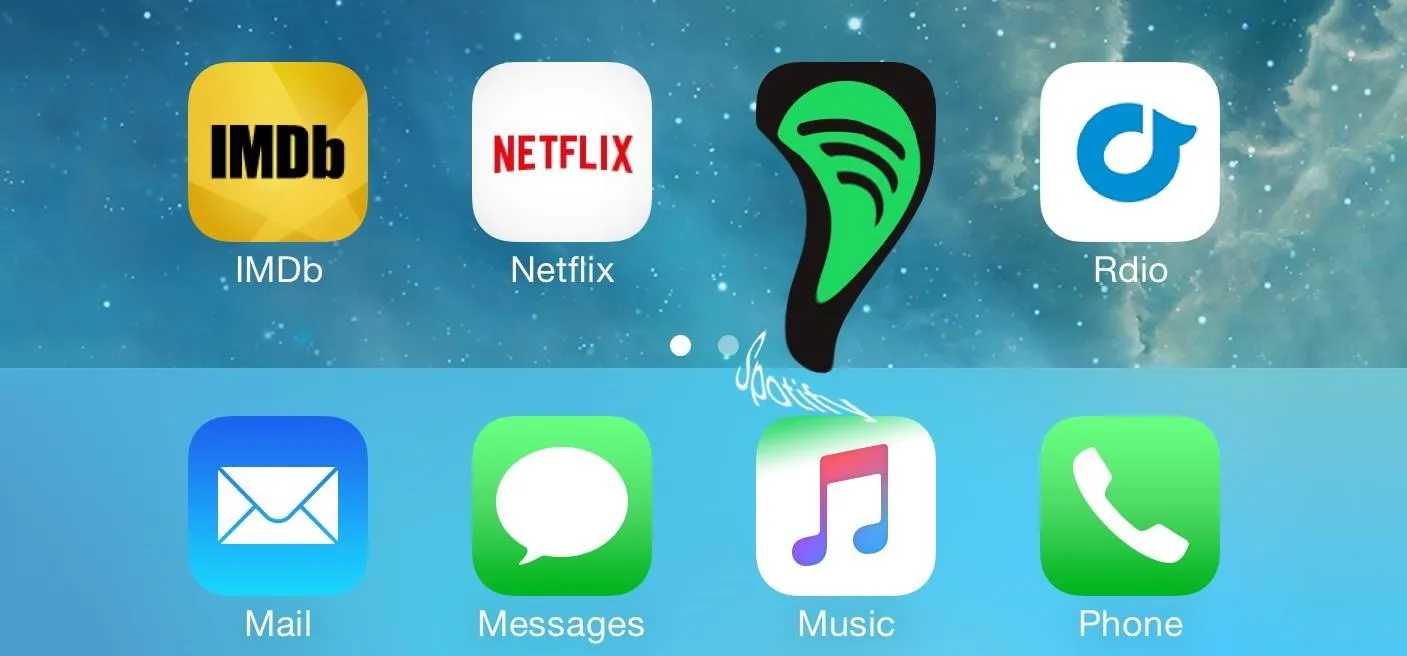
If Spotlight Search isn't as expansive as you'd like it to be, you can use Flashlight, which adds search extensions for Yelp, Spotify, Google, and DuckDuckGo. All you got to do is follow our guide, which has the download links to Flashlight, as well as instructions for enabling the extensions you want.
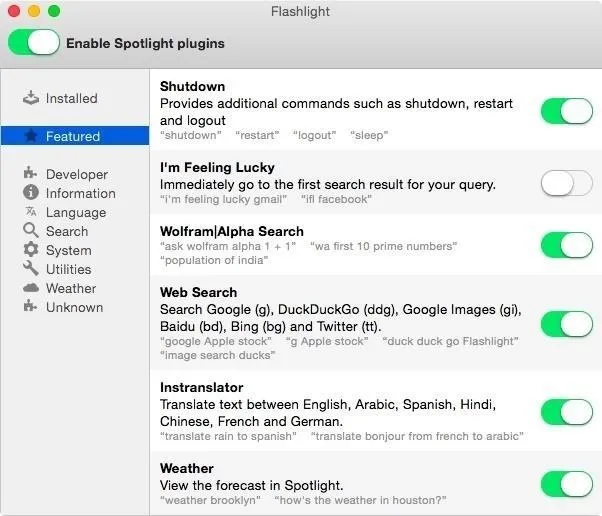
In Spotlight, you'll need to enter a specific suffix that is associated with the application you want to search in—before entering your actual query. Below you can see the options for Spotify show up in Spotlight.

Tip #4: Prevent Spotlight from Searching Certain Locations
Since other people might use your computer from time to time, it might be a good idea to exclude certain areas from Spotlight's search.
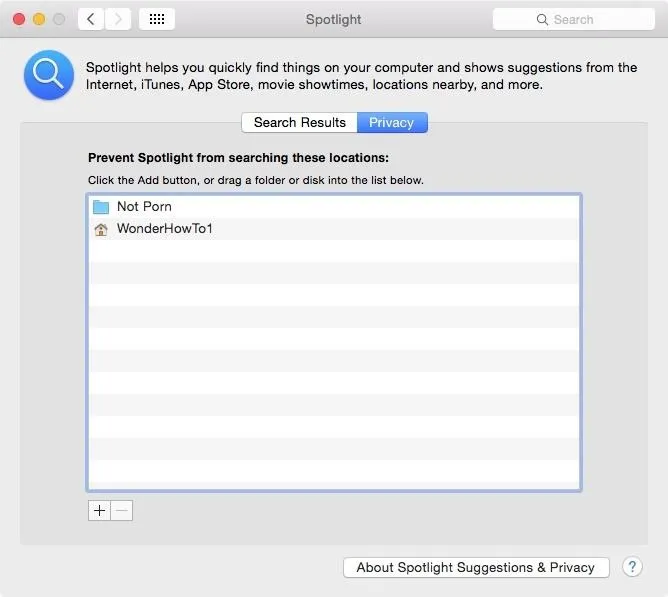
Prevent specific folders and drives from showing up in search results by going to System Preferences -> Spotlight -> Privacy and adding folders and disks through the plus sign at the bottom left. Use the minus sign to remove locations.
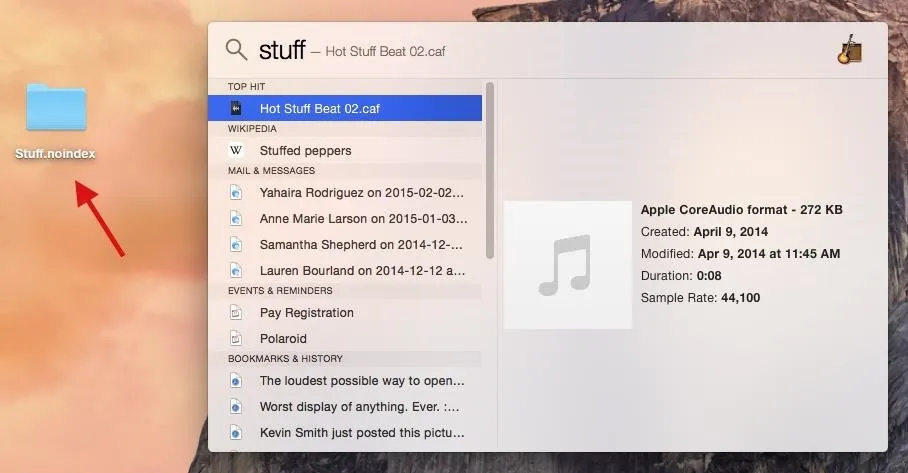
Another way of excluding a folder from Spotlight search is by adding a ".noindex" extension to it. Below you can see that a folder I renamed "Stuff.noindex" no longer shows up in Spotlight.
Tip #5: Stop Spotlight from Tracking You
It may not come as a surprise, but Spotlight collects your search terms and current location in real time, then sends them to Apple's servers. It's actually not a huge deal because all major search engines do this, and the information that is shared isn't very intrusive.
Still, if you don't want your information shared with others (including Microsoft's Bing), you can easily opt out by disabling certain Spotlight categories and removing Spotlight Suggestions from Location Services.
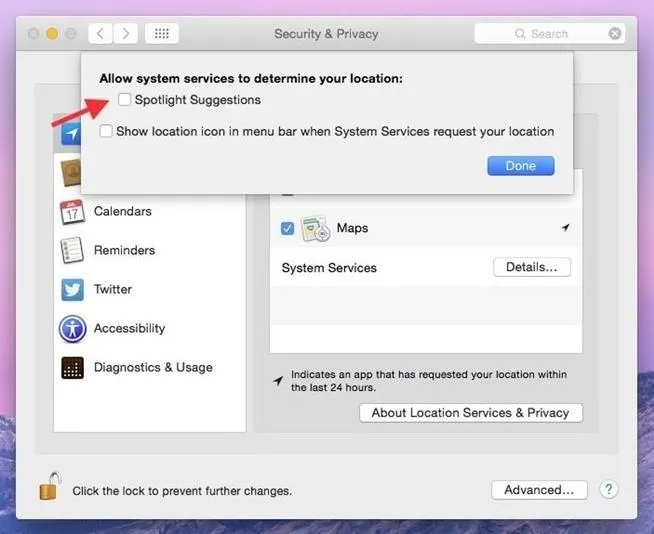
Check out our complete guide and follow all of the steps to prevent Spotlight from tracking your search terms and current location.
Tip #6: Prevent Spotlight Search from Show Up in Safari
Spotlight search exists not only on your desktop but also in Safari, showing off directions in Maps or music on iTunes, depending on what you enter into the address bar.
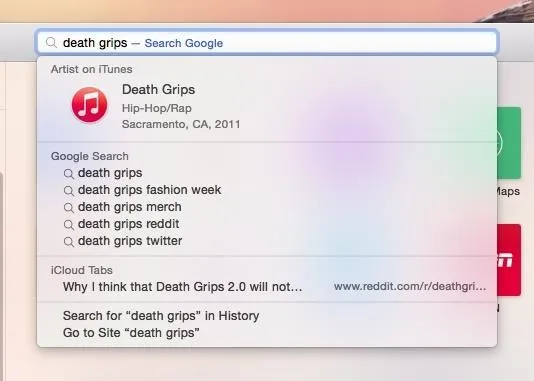
The thing is, I don't use Safari's address bar to search for things on my computer. To get rid of this functionality, simply go to Safari -> Preferences -> Search from the menu bar and uncheck the box next to "Include Spotlight Suggestions."
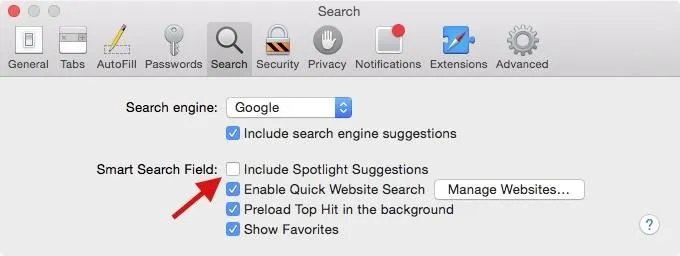
Now when you search in Safari, you'll no longer see any Spotlight suggestions show up.

Tip #7: Re-Index Spotlight
Spotlight can sometimes act up, like seeing multiple instances of the same files or folders when you search. That has to do with your index, and luckily, there's an easy fix for it.
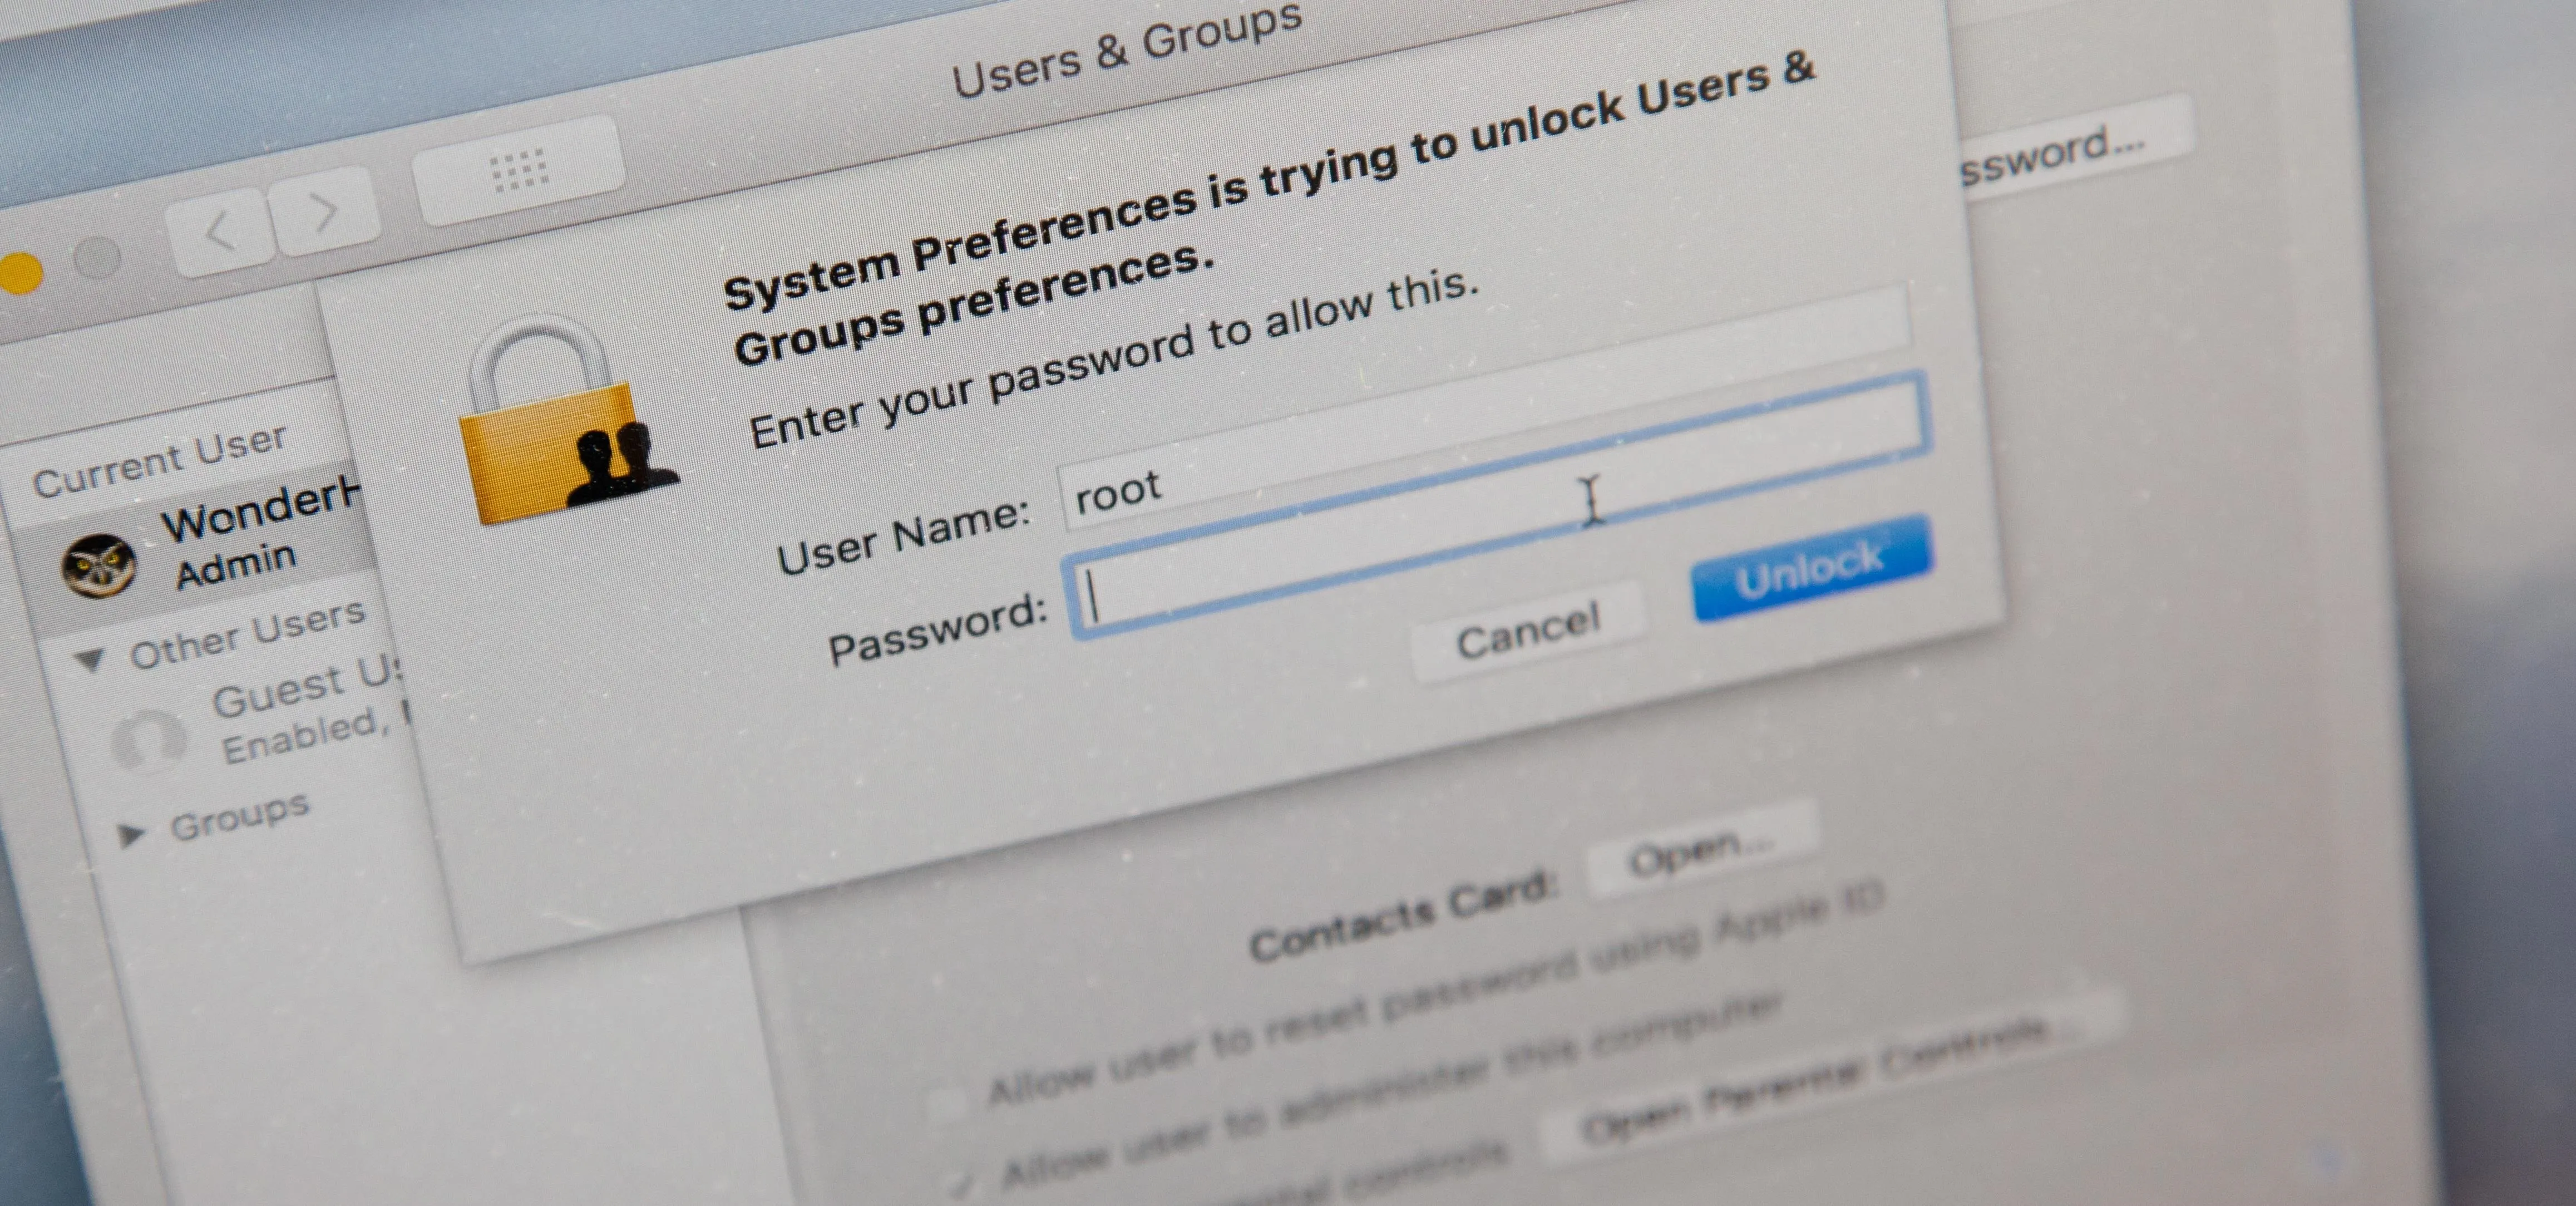
Open Terminal and allow for root access to your system using the following command.
sudo -i
Enter your computer's password, followed by the following 3 commands.
mdutil -Ea
mdutil -ai off
mdutil -ai on
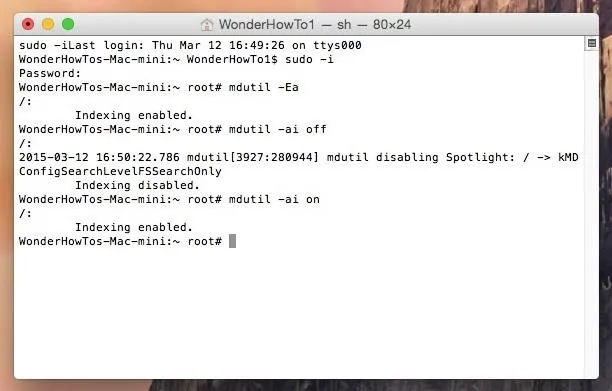
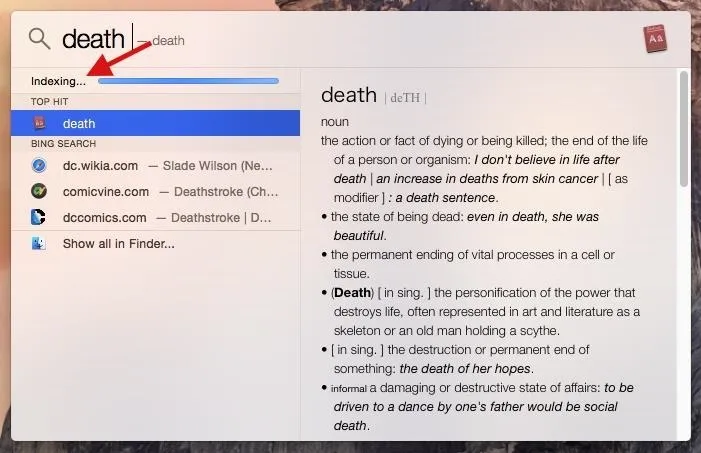
This will erase the Spotlight index, turn it off, then back on. Now just open Spotlight and wait for it to create a new index.
Tip #8: Turn Off Spotlight Completely
Finally, if you're just not a fan of Spotlight, turn it off. Enter the following command in Terminal.
sudo launchctl unload -w /System/Library/LaunchDaemons/com.apple.metadata.mds.plist
Then enter your computer's password and hit Enter.
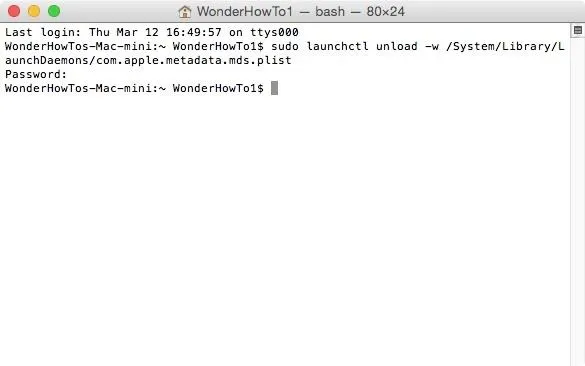
When you try to enter something into Spotlight now, nothing will happen. The Spotlight Search bar will remain as is, without a list of suggestions.

To re-enable Spotlight, enter the following command.
sudo launchctl load -w /System/Library/LaunchDaemons/com.apple.metadata.mds.plist
Spotlight will once again appear and will have to reindex, so give it some time to regain its full functionality.
Hopefully some of these tips can help you control Spotlight Search a little better than before. Got any more tricks? Let us know! And don't forget to follow Apple Hacks over on Facebook and Twitter, or Gadget Hacks over on Facebook, Google+, and Twitter, for more Apple tips.






Comments
Be the first, drop a comment!