Managing files can be time consuming on your Mac, for the simple reason that keyboard shortcuts and right-clicks sometimes lack the effectiveness we need. But with a simple third-part app, you can expedite the process of sharing, moving, deleting, and overall managing files on your computer.
With FilePane, from developer MyMixApps, you'll be able to drag any file and drop it into a small window, where you can then quickly choose what to do with it: share it via email, upload it to social media, convert and compress it, and much, much more.
- Don't Miss: 13 Terminal Commands Every Mac User Should Know
Download and Install FilePane
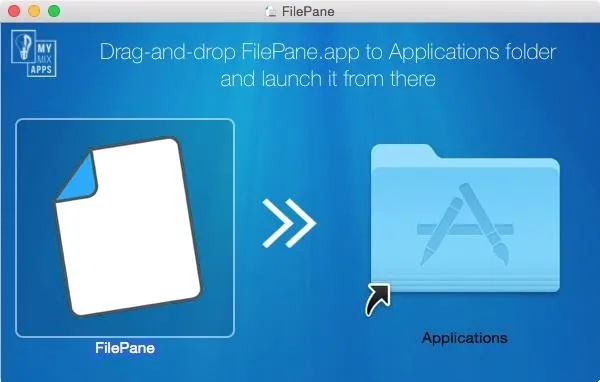
FilePane is available through the Mac App Store for $4.99, but you can install a free 7-day trial version directly from their website using this link. Just download it, open up the DMG file, then drag and drop FilePane into your Applications folder.
After opening up FilePane for the first time, allow FilePane to start on boot and grant it access to your files. Once that's set, click on "Start Trial" to begin using FilePane. You can also purchase the fully-licensed version from this popup.
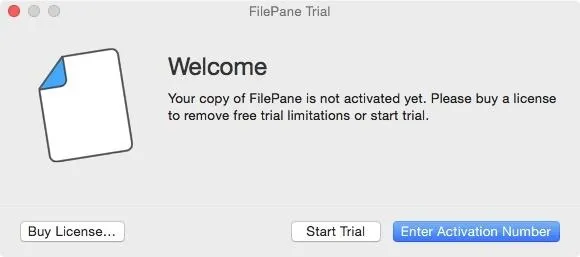
Note: If you have your security settings to only allow apps from the Mac App Store, you may have to adjust your Gatekeeper settings to open up FilePane for the first time.
Access Its Settings
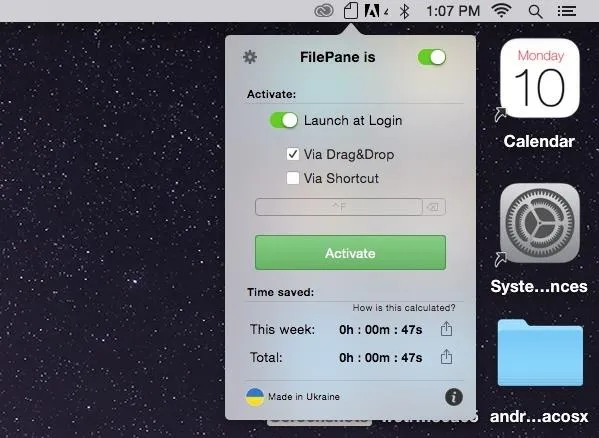
FilePane will exist as a menu bar app, which you can use to disable the app, have it launch at login, purchase the license, and more.
Drag & Drop Using FilePane
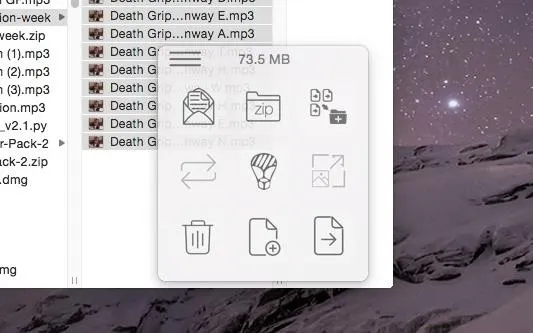
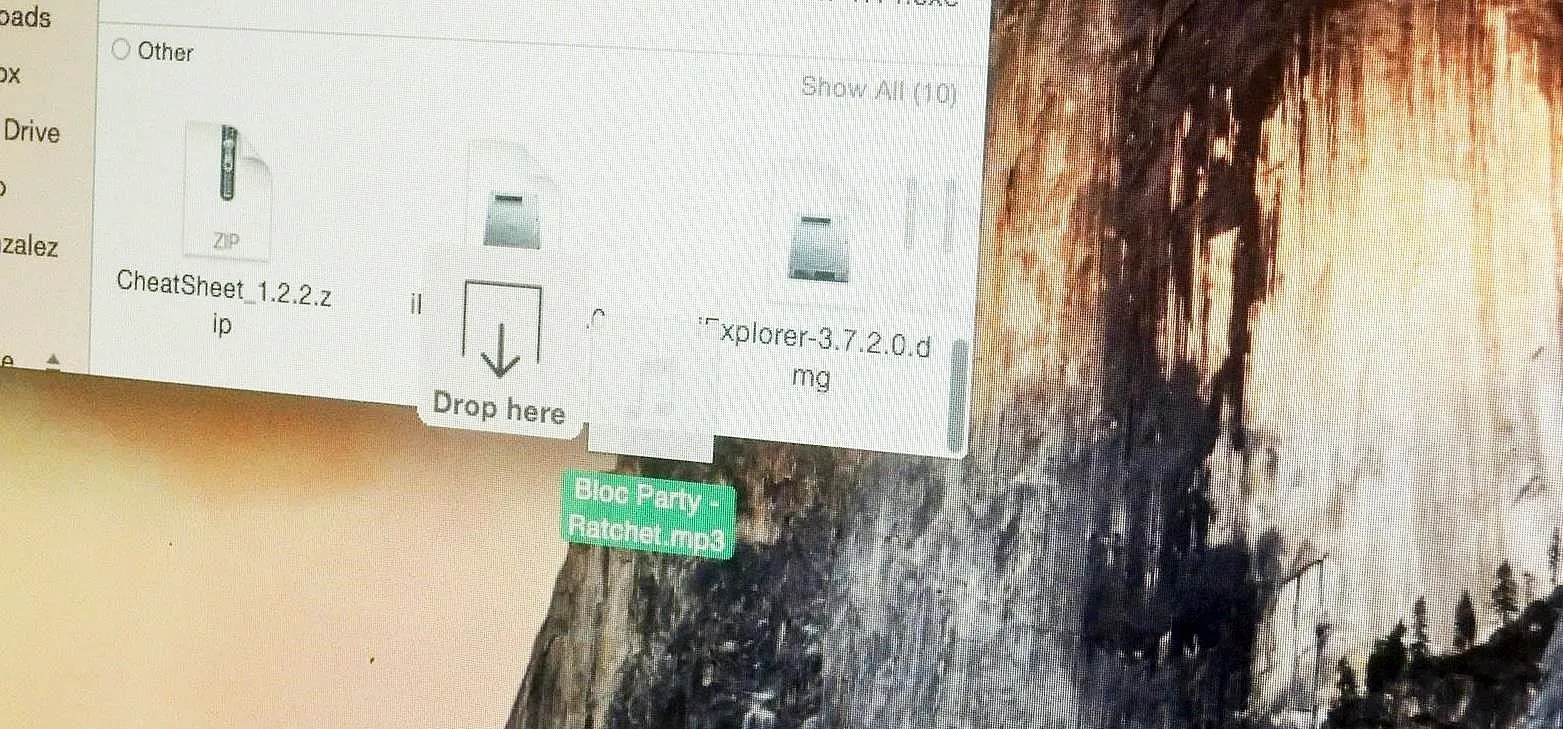
Now, when you click on a file and drag it, a transparent and unobtrusive window that says "Drop here" will appear where you can drop the file(s). Depending on the type of file(s), different options will be available for you to choose from.

For most files, including photos and videos, you'll be able to do such things as email, extract, share to a created folder, convert to another file type, upload to social media, set as your background (photos), delete, and move or copy to anywhere on your Mac.
When I dragged a photo and selected the conversion option, I had the ability to convert it to a handful of alternatives, such as PNG and JPG, with the added option of compressing it to the percentage of my choice.

Sharing files via social media was a breeze, with options to upload them to Twitter, Facebook, Flickr, Weibo, and AirDrop (which isn't social media, but allows you to quickly share files to other users on Mac OS X and iOS).
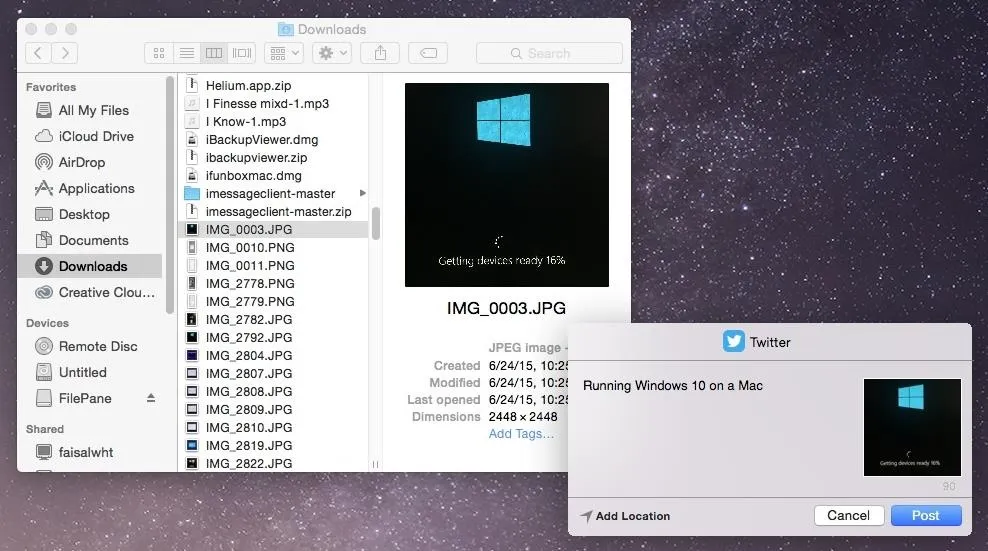
My personal favorite option is the ability to move or copy a file to any destination on your computer. Simply use one of the preset options available, or select your own, and the file will be instantly transferred.

This makes it extremely easy for me to place a file inside of a folder that itself is inside of two or three other folders. With a single drag, drop, and click, I can send a file from my Desktop to somewhere far from it.
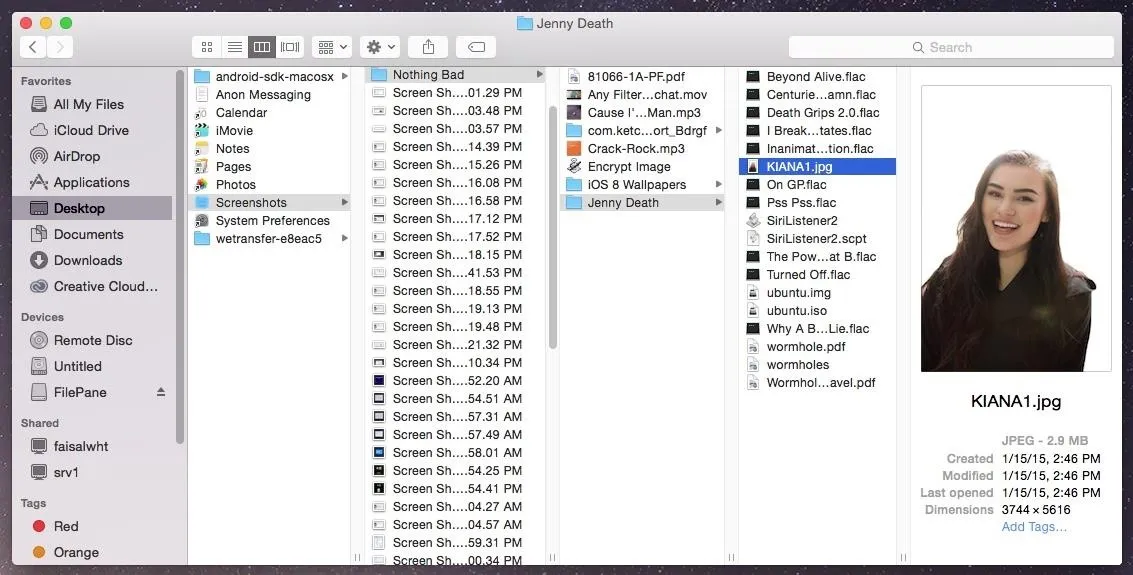
As I mentioned above, there are several other options for you to choose from, it just depends on the type of file you select.
Drag & Drop Content from the Web
You can also drag and drop files that are on Chrome, Safari, Evernote, and other apps. Dragging an image from a Google search on Chrome, I had the options to share the file, set it as my background, resize it, and save it to my desktop.

I tried it out on Photoshop and it worked as well. Unfortunately, this only seems to work with photos, because whenever I tried dragging a PDF or video from the web, the hyperlink simply came along with no FilePane window in sight.

Test out FilePane to manage all of your files and let us know how well it works for you.
Follow Apple Hacks over on Facebook and Twitter, or Gadget Hacks over on Facebook, Google+, and Twitter, for more Apple tips.














Comments
Be the first, drop a comment!