


Uninstalling an app on your Mac isn't as straightforward as you would think. When you drag and drop an app into the Trash, then empty it, the main app itself may be gone, but many associated files and folders are left behind. So how do you get rid of them? There are a couple of ways.
To completely delete an application and all of its linked files and folders, you can either do it manually or let another app do it for you. This guide covers both. Either way, you're on your way to a spot-free Mac OS X computer.
Note: Use Dedicated Uninstallers Before Anything Else
If the app you want to delete has an uninstaller associated with it, then use that before doing it manually. For instance, Flip4Mac and most Adobe products come with an uninstaller. Some apps also have uninstallers you can download off the web (example: Adobe's Flash Player).

How to Manually Uninstall Apps & Their Files
This method relies on you doing the work to purge all associated files from your Mac. If you don't want to do any work, and don't mind installing another app to do your dirty work, then jump down to the next method.
Drag & Drop App into Trash
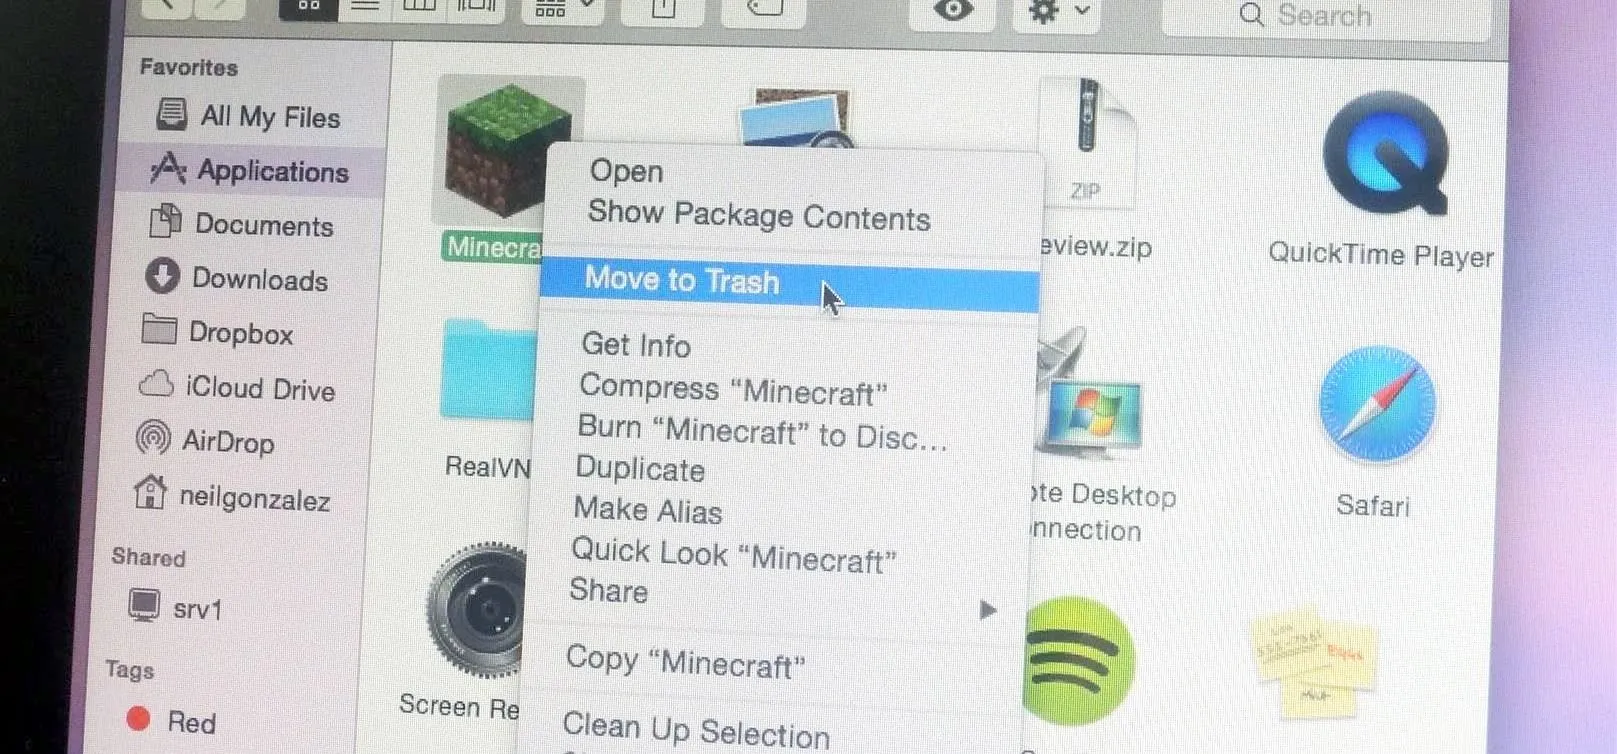
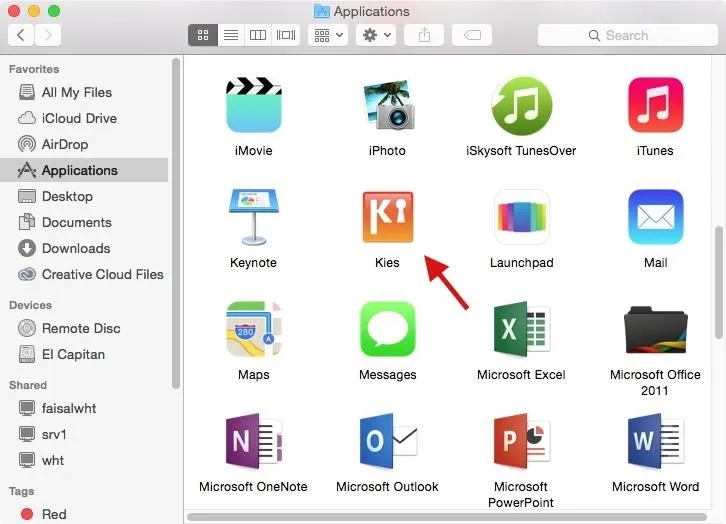
Apps will usually reside in the Applications folder, but if not, you can use either Spotlight or Finder to locate it. Find the app you want to delete and drag it to Trash—I'll be getting rid of Samsung Kies.
While it may seem strange to only discard a single file, what you're actually throwing away is a bundle of files, which you can view by right-clicking on the app and selecting "Show Package Contents."
Depending on the software that you're uninstalling, you might be asked to enter your admin password to properly dispose of the file(s) in Trash.

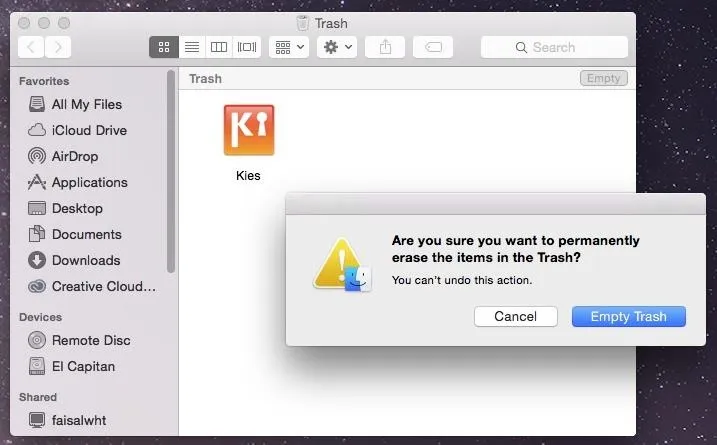
Now either right-click on the Trash icon and select "Empty Trash," or open Trash and click on "Empty" at the top-right corner, then confirm.
Now you've seemingly uninstalled the app, but unfortunately you haven't rid your Mac of all the files associated with it, such as cache, framework, and PLIST files.
Navigating through your Library folder, I'll show you how to get rid of these files and folders in the next step.
Get Rid of Associated Files Through Library
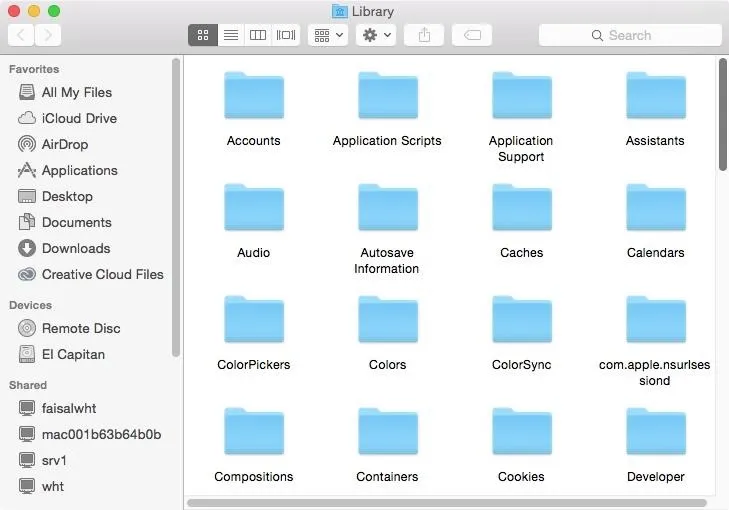
Application resources—files which an app needs to function properly— can all be located within the Library folder on your hard drive. Unfortunately, after Mac OS X 10.7, Apple decided to hide this folder on your computer. So let's unlock it first.
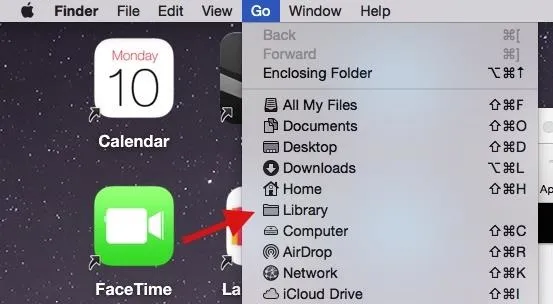
First you'll need to open Finder, click on "Go" in the menu bar, hold down on the Alt/Option key to bring up the Library option, then click on it.
- Don't Miss: How to Permanently Unhide the Library Folder
Inside of Library you'll see a clutter of folders, some of which contain the files relating to the app you deleted. Go inside of each folder and search for any files that are associated with your app. (You might also have to do this in the root Library folder at Macintosh HD.)
Warning: Deleting the wrong files from Library could potentially cause harm to your other apps (slow them down, wipe information, etc.), so make sure to be careful what you get rid of.
Since I had over 50 folders, it took me a bit of time to go through everything and find the files I wanted to delete. To save you some time, these are the folders I found associated files of deleted apps:
- Application Support
- Caches
- Containers
- Frameworks
- Logs
- Preferences
- Saved Application State
- WebKit
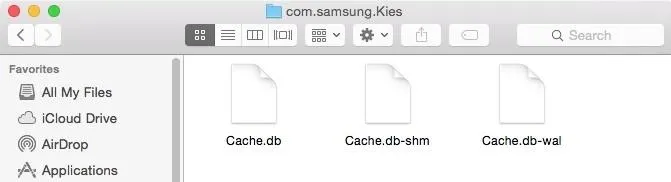
Below you can see some of the files that Samsung Kies left behind on my computer, including two framework files that I found in the Frameworks folder and three cache files that were inside of a Kies folder in Caches.

All in all, I found loads of empty folders and files pertaining to apps that I had deleted long ago, in the folders I mentioned above.
Inside of Application Support, I found several local files for games from Steam that I didn't need, so I deleted those. In Containers, I wiped preference settings for MacID. Saved Application State had numerous data files, for apps such as Near Lock and WhatsMac, all of which had to go.
As I mentioned earlier, going through each folder could be time-intensive, but luckily there's an easier way to hunt down rogue files from applications past...
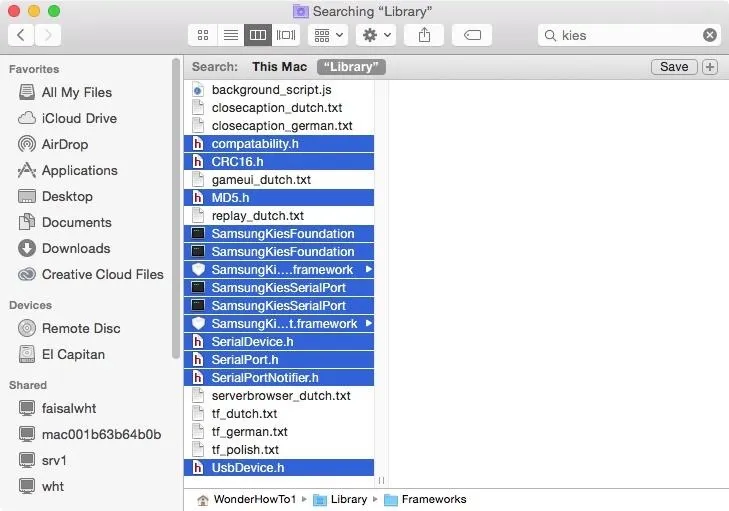
Use Search in Library
Instead of manually going through each folder in Library, enter the app's name into the search bar at the top right of Finder. You'll see files with that app's name show up, as long as the "Library" option is selected next to "Search."
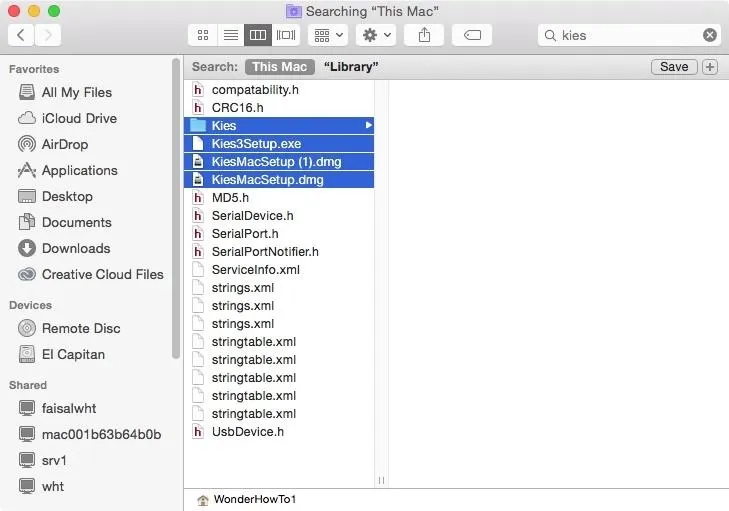
You can also use this method to find other files associated with the app by selecting the "This Mac" option next to "Search" which will find installer files and more that are on your Mac, but not in Library.
How to Uninstall Apps & Their Files Using Third-Party Apps
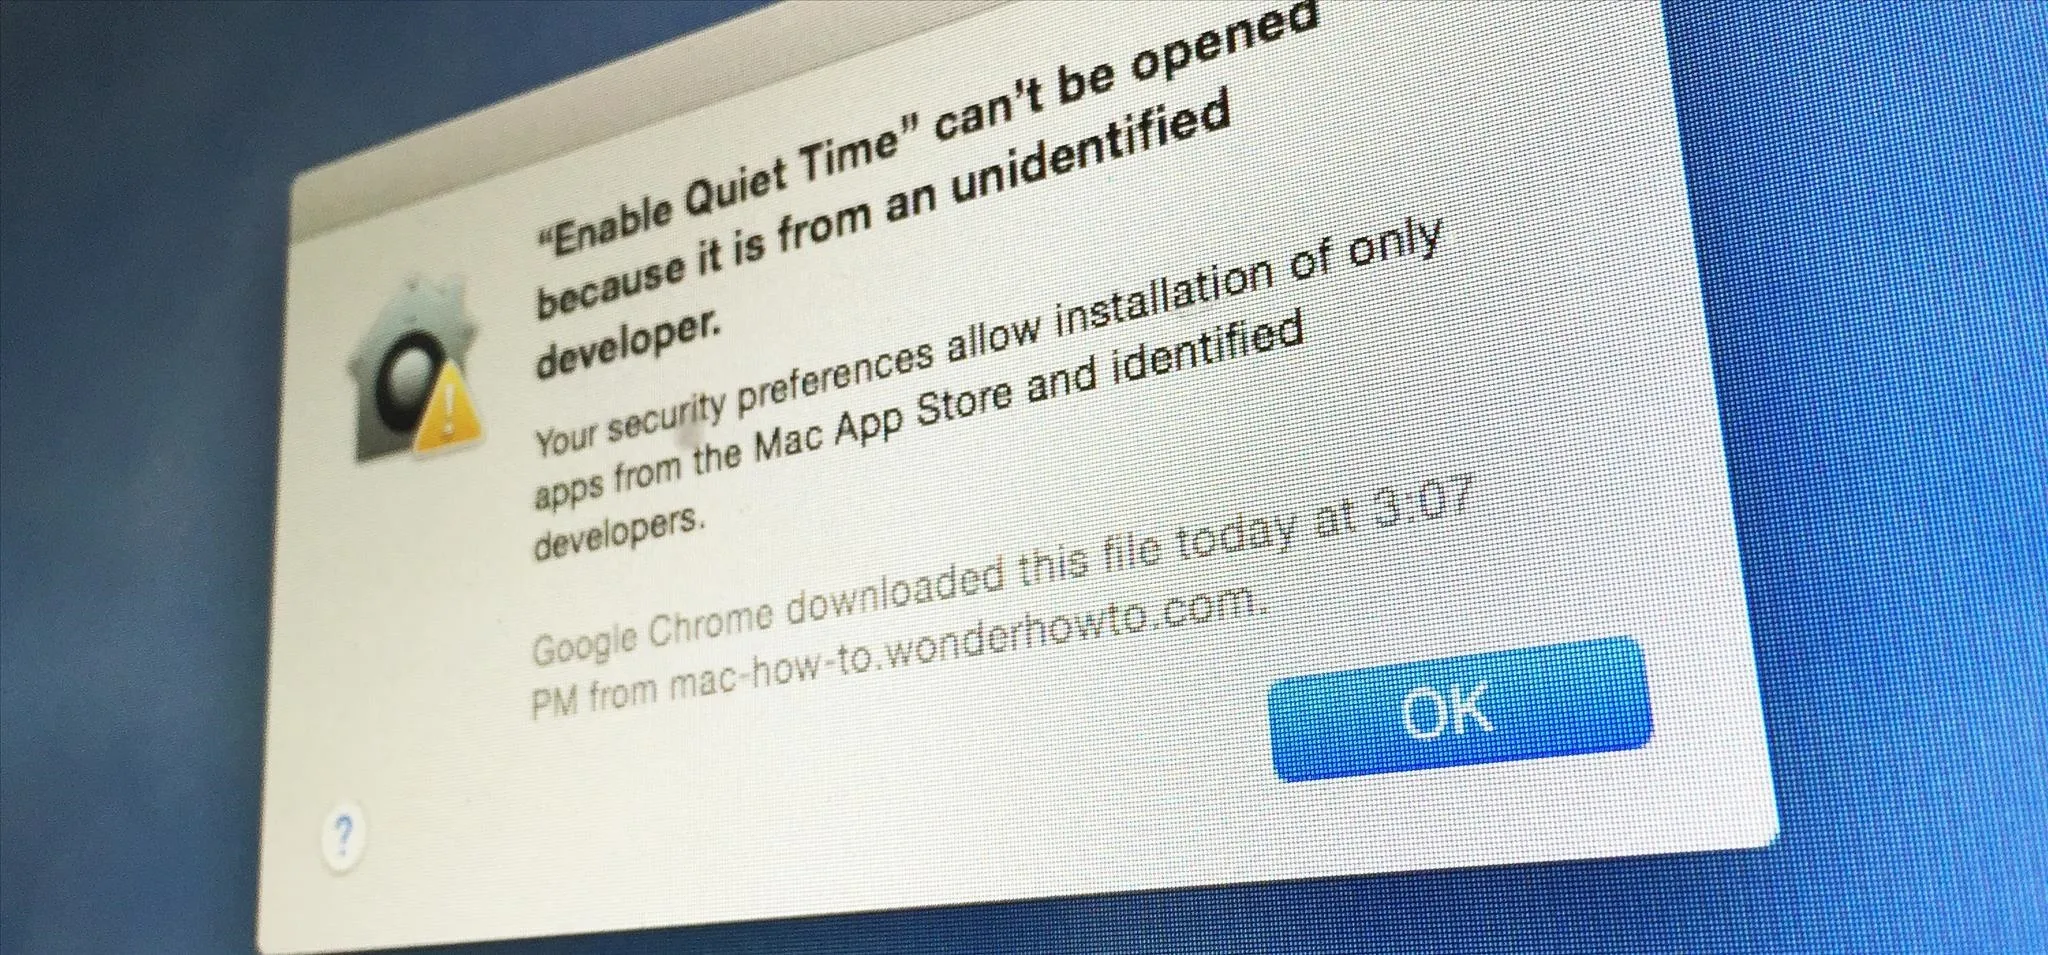
If you'd rather not bother with the above process, these two apps will do the work for you. Because neither of these files are on the Mac App Store, make sure to allow app installs from unidentified developers, if you haven't already.
App #1: AppTrap
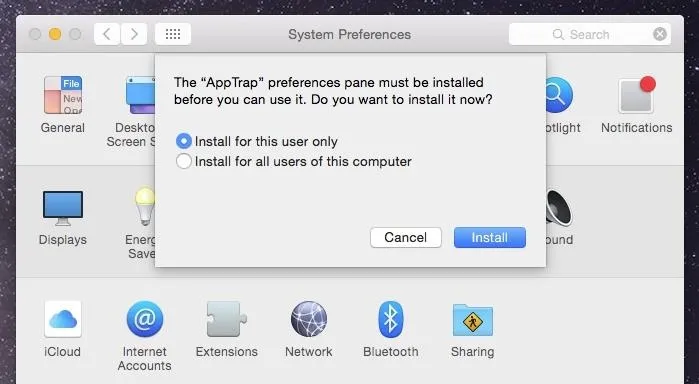
With the free app AppTrap, all you have to do is place an app into your Trash and all of its files associated with it will automatically go with it. Just download AppTrap for your OS X version, unzip the file, open the AppTrap.prefPane file, then click on "Install."
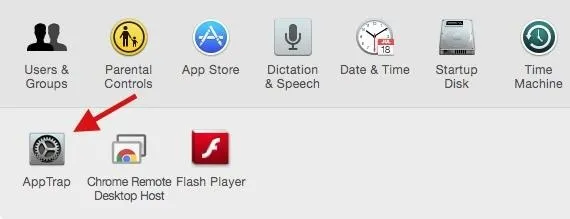
Now open AppTrap from the icon that appears in System Preferences.
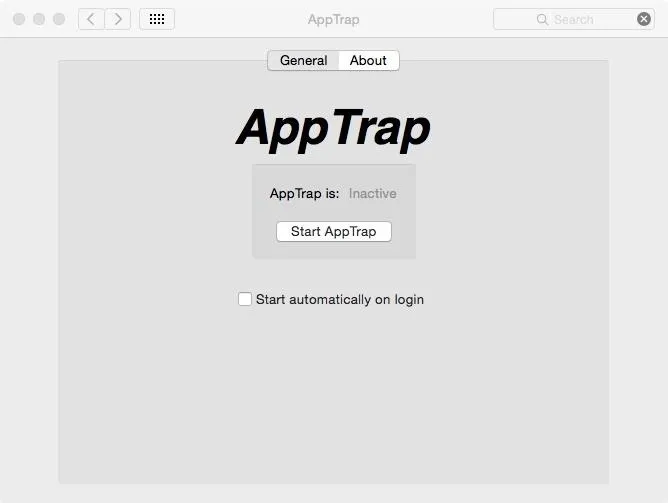
Click on "Start AppTrap" and you're all set.
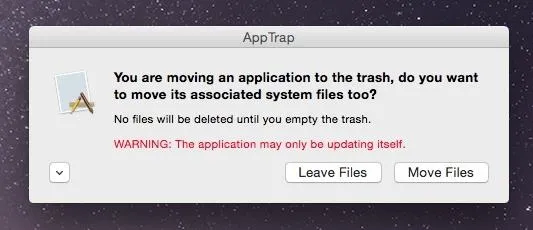
Whenever you place an app in the Trash, a popup will appear that asks you if you either want to move the associated system files with it or leave them be.
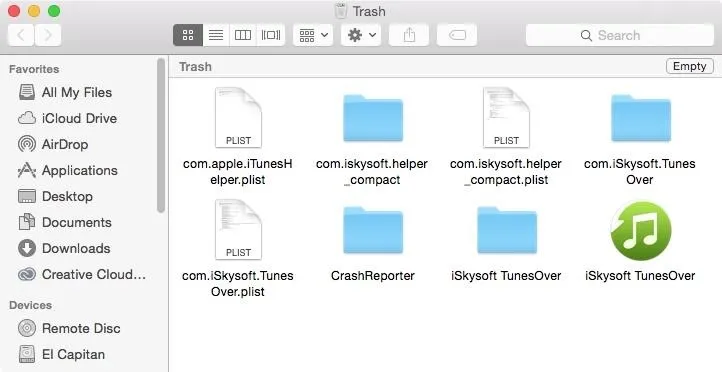
Below you can see 7 additional files and folders that were connected with iSkysoft TunesOver, the Mac app that I sent to Trash.
App #2: AppCleaner
Another free OS X tool you can use to uninstall apps is called AppCleaner, similar to AppTrap in that it does the work of finding associated app files for you.
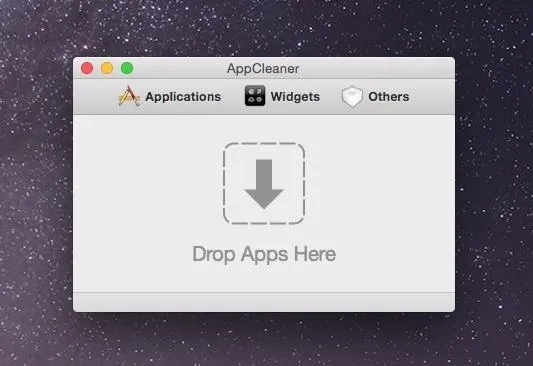
After installing the right version for your OS, all you have to do is drag-and-drop the app you want uninstalled into AppCleaner.
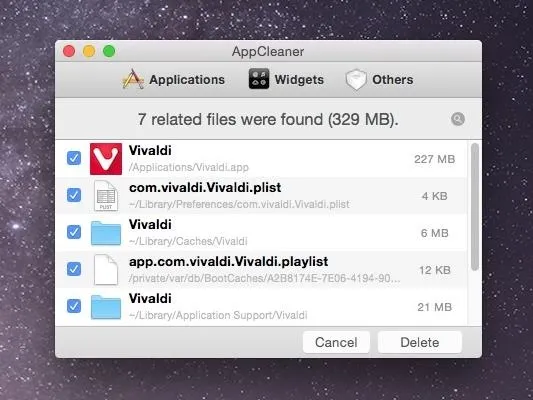
All of the files related to it will show up, where you can then choose to keep some or send all of them to Trash.
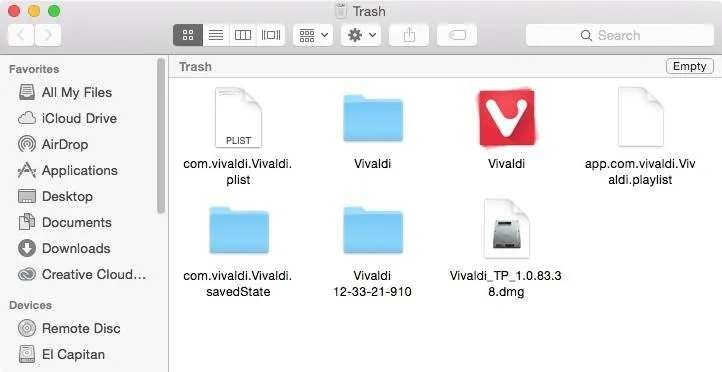
Once again, just like with the other methods, empty out your Trash and your uninstallation process is complete.
Which Process Works Best for You?
While deleting associated files will free up space on your computer, you need to be careful about what you delete from the Library folder. You can cause some damage if you're not well-acquainted, so make sure that what you get rid of won't cause any damage.
If you're not quite sure, I suggest you use one of the two apps I mentioned above, both of which are free and incredibly easy to use. With AppTrap and AppCleaner, you don't have to worry about any harm occurring to your iMac, MacBook, Mac mini, etc., other than completely nuking data from your deleted apps.
Follow Apple Hacks over on Facebook and Twitter, or Gadget Hacks over on Facebook, Google+, and Twitter, for more Apple fun.


Comments
Be the first, drop a comment!